This post is geared for the more adventurous or experienced makers participating in our Finch Bucket make along. If you aren’t quite ready for these ideas yet, just bookmark this post and come back to it when you are ready.
A while ago, I opened a discussion in this Instagram post about what sort of things you would like to see in a Make Along. So many great ideas were listed. I hope I’ve covered most of the more basic requests in the last two posts. For me, now, this is the fun part. I adore taking patterns and making them my own. I frequently find myself modifying patterns – which isn’t to say the original pattern is wrong or not correct. But we might be making a pattern with a specific purpose in mind, and to do that we want to adjust this, that, and the other thing. And that’s OK.
Many ideas have been bouncing around in my brain in the last while. Here are a list a of some of them (some from your lists in my post and some from yours truly):
- before assembling the bucket, stitching could be added to the exterior panels, in the form of embroidery, initials, echoing of fabric designs or Sashiko style stitching
- instead of doing patchwork squares, half square triangles could be used (I might work on this idea myself over the MAL)
- the exterior panels could be pieced using modern improv piecing
- hardware could be added in an area that is workable for you
- the bucket could be modified to include a zipper
- add a zippered pocket
- add shoulder straps
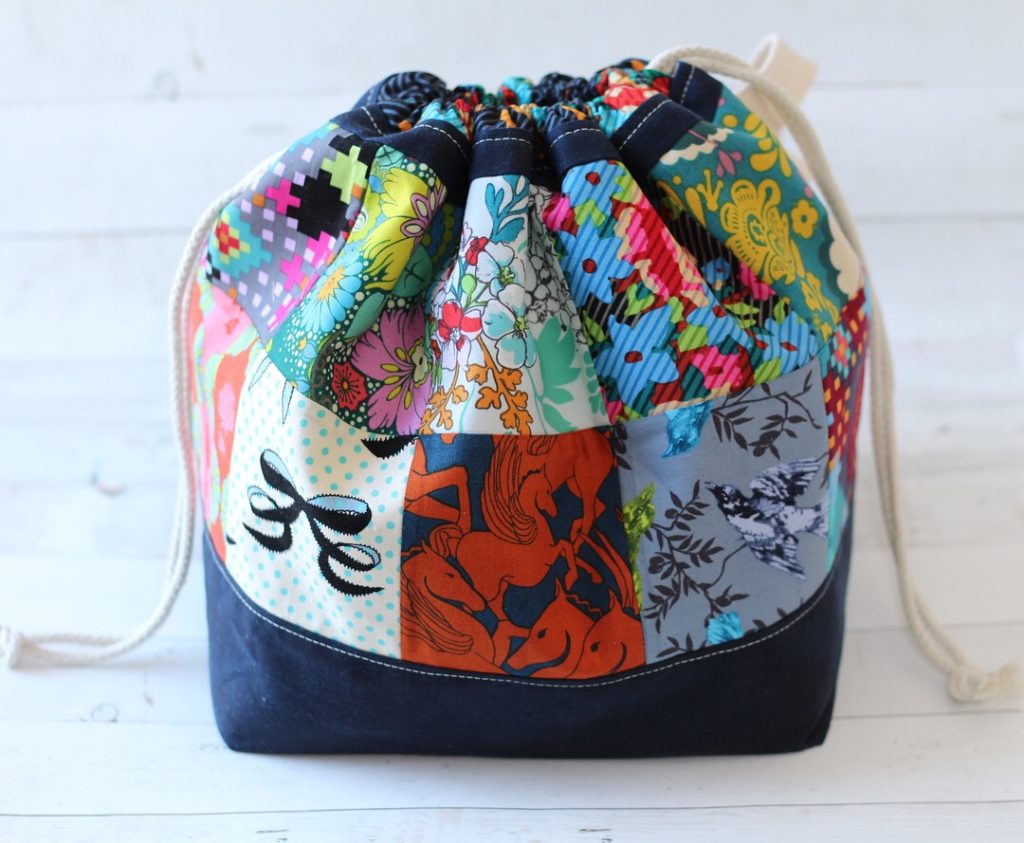
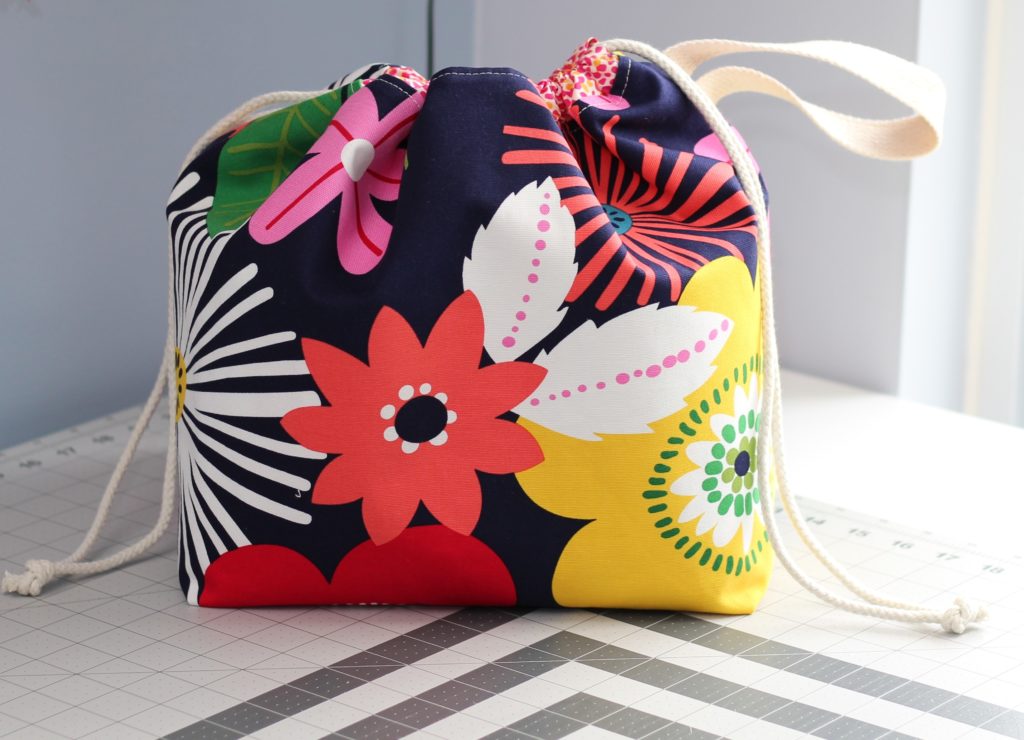
- remove the accent pieces and make the bucket exterior a solid fabric to utilize very large print fabrics
- insert a full size pattern block into the bag and customize the rest of the bucket around that
COMING TOMORROW
I have drafted a method that will allow you to use (6) 6 1/2″ blocks in the Original Finch Bucket layout. This is a standard quilt block size, so the sky is the limit here. If a block’s unfinished measurement is 6 1/2″, it can be used with this method.
There will also be a tutorial to make 6 1/2″ unfinished (UF) scrappy maple leaf blocks, complete with video tutorials. I’m very excited about this release and cannot wait to share the project I am working on.