This is a quick tutorial on how I make flying geese blocks. There are many ways to make them, but this is the method I choose.
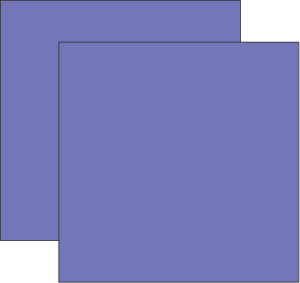
Cut one rectangle in the desired size. For this tutorial, I’ll use a 3 1/2″ x 2″ rectangle.
Cut two squares in the corresponding desired size. For the rectangle above, I’ll use 2″ squares.

On the back side of each square, draw a diagonal line from corner to corner with an erasable fabric pencil or disappearing ink marker.
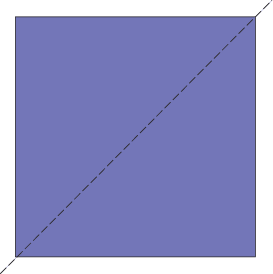
Pay attention to directional fabrics. If it matters, rotate the fabric correctly before marking.
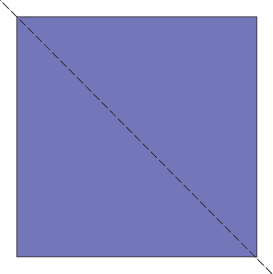
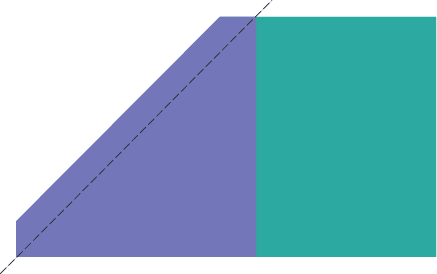
Lay the square over the rectangle, right sides together with the edges lined up. Stitch down the marked path using a back stitch at the beginning and end of your stitching, if you prefer.
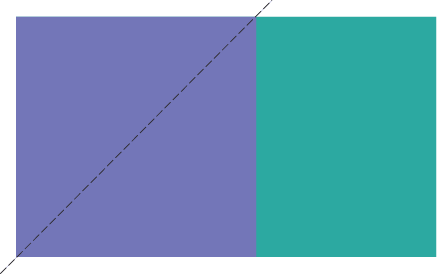
Trim the outer triangle pieces away using a 1/4″ seam allowance.
Your block will now look like this.
Press the square fabric, very carefully, away from the stitching line.

Repeat the process with the second square.
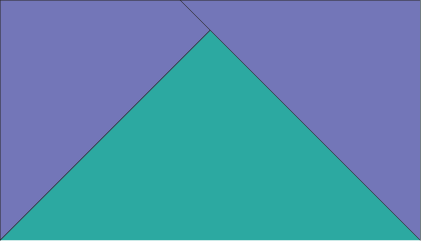
You have finished your flying geese block! The finished measurements for this block, once sewn with a 1/4″ seam will be 3″ x 1 1/2″.
One thought on “Flying Geese Tutorial”
-
Pingback: Finch Bucket Make along 2022 – Stitch Mischief
Leave a Reply