Thank you for joining us in our make along! This post is an in-depth description of various techniques you can use to make the Finch Bucket.
HOW TO CUT YOUR FABRICS
Periodically, a fabric will have been loaded crookedly onto a bolt at the manufacturer causing the fabric to be pulled in two directions on either side of the fold line. To fix this, open the fabric and press out the fold line. Hold the fabric in the air, selvage edge to selvage edge pinched in your fingers. While keeping the fabric taught, slide the selvages alongside each other so that when holding it in the air and looking down the width of the fabric, it hangs straight. If it veers one way or the other, slide the selvage edges against each other until the fabric corrects itself. This is how you find the straight-of-grain in a fabric. Most of the time, for a Finch Bucket, I do not find it necessary to do this. For some fabrics with stripes and other linear designs, it is helpful to make sure things line up correctly before cutting.
Press your fabric before cutting. Double check the fabric placement will be to your liking. Double check the measurements you require and carefully cut your fabric.
HOW TO USE INTERFACING
Line up the interfacing (cut to the size of the piece you are interfacing) over top of the wrong side of the fabric, glue side facing down. The glue side will feel a bit nubby and rough. The glue side will be touching the wrong side of your fabric. Try not to stretch out the fabric too much when pressing the interfacing onto the fabric. Let the interfaced fabric cool a little before moving it to allow the glue to set.
BASTING
Basting can mean different things in different projects. But the general idea behind basting is to temporarily secure two fabrics together, usually at a smaller seam allowance than the final seam allowance. Frequently, in clothing making, basting will be done with a large stitch length.
For the Finch Bucket pattern, it is not necessary to change your stitch length when basting. You will come across basting when the pockets are attached to the lining panels, and also when the casing is being attached to the outer panels. A small seam allowance is fine in these cases – I normally use just under 1/4 of an inch to baste.
TOP-STITCHING
When ready to top-stitch an item, I switch my thread out from a 50 weight to a heavier 40 weight thread. I also lengthen my stitch on my machine to somewhere between 3.5 mm and 3.8 mm.
Practice stitching on a scrap of fabric if you are unsure of where to line up the fabric under your machine foot. Usually, I top-stitch about 1/8″ under the fold line of a seam. The key to professional top-stitch is to go slow. Keep your hands steady while guiding the fabric through the machine.
When attaching the pockets to the lining, I use a top-stitching stitch length and follow the markers on the pockets. I do this step after basting the pockets to the sides of the lining panel and after I’ve pinned and top-stitched the bottom of the pockets in place.
When stitching the pocket division lines in place, make sure to back-stitch at the beginning and end of each seam. If you find your layers shifting as you stitch, start your stitching from the bottom edge of the pocket and move to the top of the pocket edge. This will prevent shifting and excess material bunching at the bottom of the pocket.
USING A HERA MARKER
Line up the fabric that you will be marking with the Hera marker. Position your ruler where you will make the mark. While holding the ruler steady, take your marker and firmly press it against the ruler edge and slide it along the distance you need to mark. When finished, a firm crease will be visible as a stitching guide. This will disappear naturally with time as the fabric relaxes.
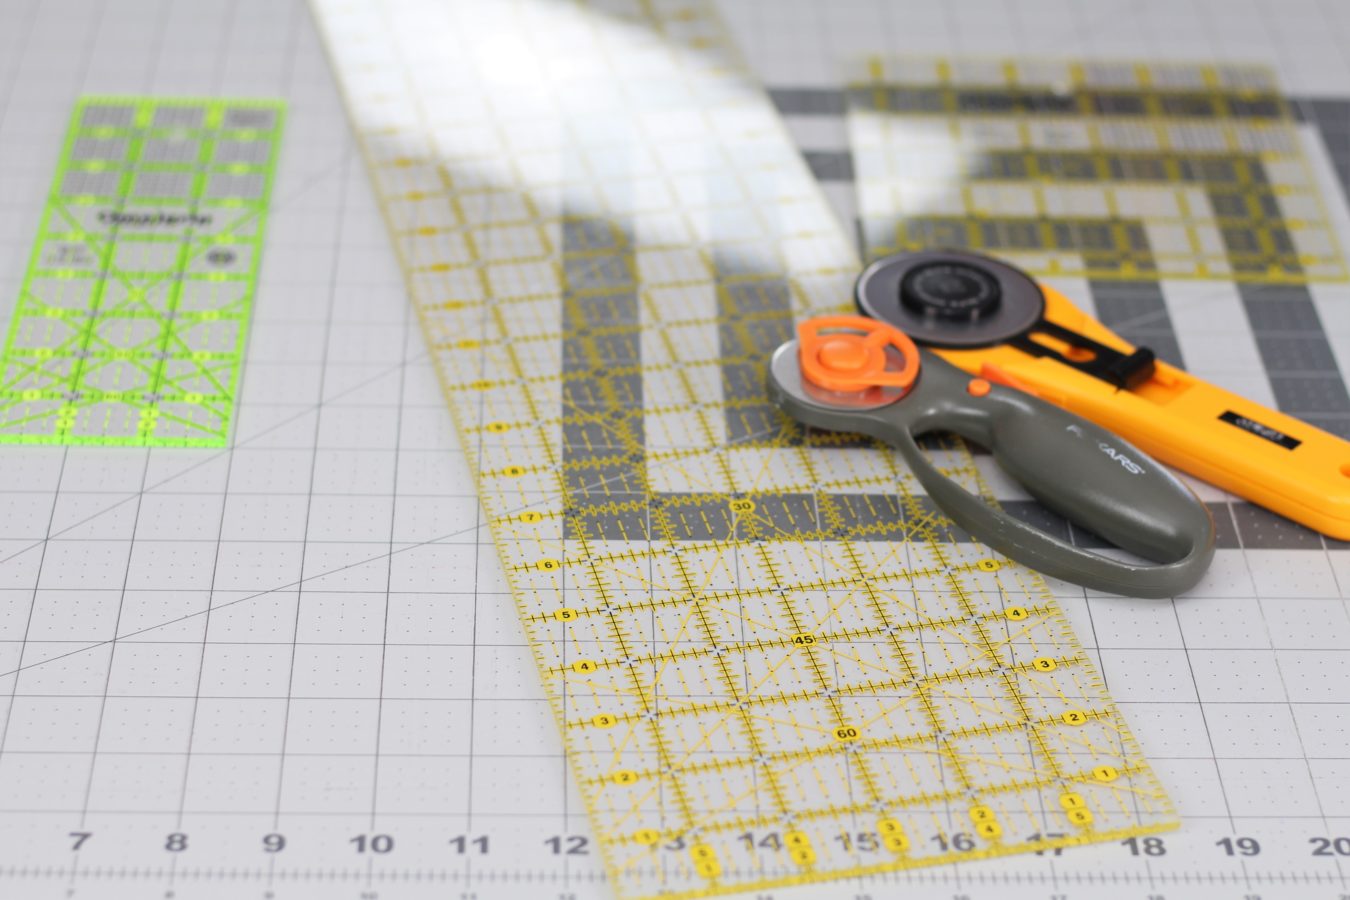
HOW TO CUT AND BOX CORNERS
After pinning both full panels together and matching seams correctly, lay the pinned panel piece on your cutting mat. You will need a ruler, a fabric marker and your box cutter or scissors. Line up the ruler one one of the corners, sectioning off a square (per the pattern directions). Using the fabric marker, carefully mark both edges of the square alongside the ruler. Take the box cutter and carefully cut the square out using two cuts. Both cuts start at the center inner corner of the square. Cutting from this direction ensures that you don’t accidentally slice through your bucket. Repeat the process with the three other corners.
BODKIN USE
Take the length of rope that you will be using as a drawstring for your Finch Bucket. Make sure you have the right length. Slip the rope into the bodkin or hook it depending on your bodkin. Slide the bodkin and rope through the casing and out the other side of the casing. Turn the bodkin and then feed it through the second casing beside where it exited. Slide the bodkin back towards you. The rope/drawstring will now have made a circuit around the bag and both ends will be in front of you. Tie them together in a firm knot.
Turn the bucket to the other side. Re-thread the bodkin with the second length of rope and repeat the process. The finished bucket will have a knotted length of rope end on each side.
Next, follow pattern directions for side seams and bottom seams. When finished, each corner will need to be “boxed” transforming it from a 2D shape to a 3D shape. Take the seamed sides of the squares and pinch them together to make a line, matching seam allowances. Pin. Sew the gap shut. Repeat with the other three corners.
NESTING SEAMS
When constructing a patchwork Finch Bucket, it is essential to use correct seam allowances. Once you’ve sewn your rows of squares together, you can press them in a way that you “nest” the seams.
To do this, press the seam allowances of one of the first row of squares in one direction. Press the next row of square seam allowances in the opposite direction. If you have another row of squares, press the seam allowances in this row the same direction as the first row.
To sew the rows together, line them up right sides together and pin carefully in place. Where two seams meet, the seam allowances will go in different directions allowing the seams to butt up against each other, or nest. This creates very tidy seam matching between the rows of squares.
ADVANCED TECHNIQUES FOR BUCKET CUSTOMIZATION
SQUARING UP HALF SQUARE TRIANGLES – TWO METHODS
BLOC LOC RULER
Once your half square triangle (HST) has been pressed with the seam allowance to one side, line it up under the Bloc Loc Ruler guide. There is a groove on one side of the diagonal line that will accommodate the seam allowance in your HST. The point of the ruler should line up with the seam of your block.
Your HST will in all likelihood be a bit larger than you need it to be. If you need your finished square to be 2 1/2″ big, slide your ruler to the edge of the HST and trim the exposed two sides. This will remove the little ears on one side of the block. Turn the block and ruler again. This time, line the HST up to the correct size on the ruler. Double check that everything is correct and trim the excess square away.
QUILTING RULER
Using the corner of a ruler or a square ruler that has a 45 degree angle line, line up the ruler over the HST so that the 45 degree angle line is connecting the top and bottom corner of the HST. Trim off the excess fabric along the two exposed edges, making sure you have enough HST left to produce the correct finished size.
Rotate the square and repeat the process, but make sure the 45 degree line is still connecting the top and bottom points of the HST. Move the ruler to the correct marking (e.g. 2 1/2″ square) and trim the excess fabric off the HST using the ruler as a guide.
One thought on “Finch Bucket Make Along – Week 1 – Post 2 – The How-To Dictionary”
-
Pingback: Scrappy Maple Leaf Block Tutorial – Stitch Mischief
Leave a Reply