As some of you know, I make a lot of pouches – lots and lots of zippered pouches. I have been asked to share how I construct Noodlehead’s open wide zippered pouch. (Disclaimer: I have contacted Anna, and she is totally okay with my posting this.)
I love her pattern. It is such a great pouch and the dimensions are perfect. I mostly make the small size and the large size and am in the process of drafting a super-sized pouch as well. It is just such a perfect pouch.
When I make this particular pouch, I take a different path to get the (mostly) same result. (The bias tape bottom results in a sturdier based pouch which really works for my needs.)
The reason I like to make this pouch in the way in the way shown below is that I find it is quicker to make, and the bias tape bottom seams add a strength to the shape that will hold up longer. Also, as I make these pouches as knitting bags, there is very little chance of a knitting needle poking through the base seams given the amount of reinforcement that goes into both seams.
This is my first tutorial, so please bear with me here. I will do my best to explain myself, but if you need clarification, please ask.
Here goes.
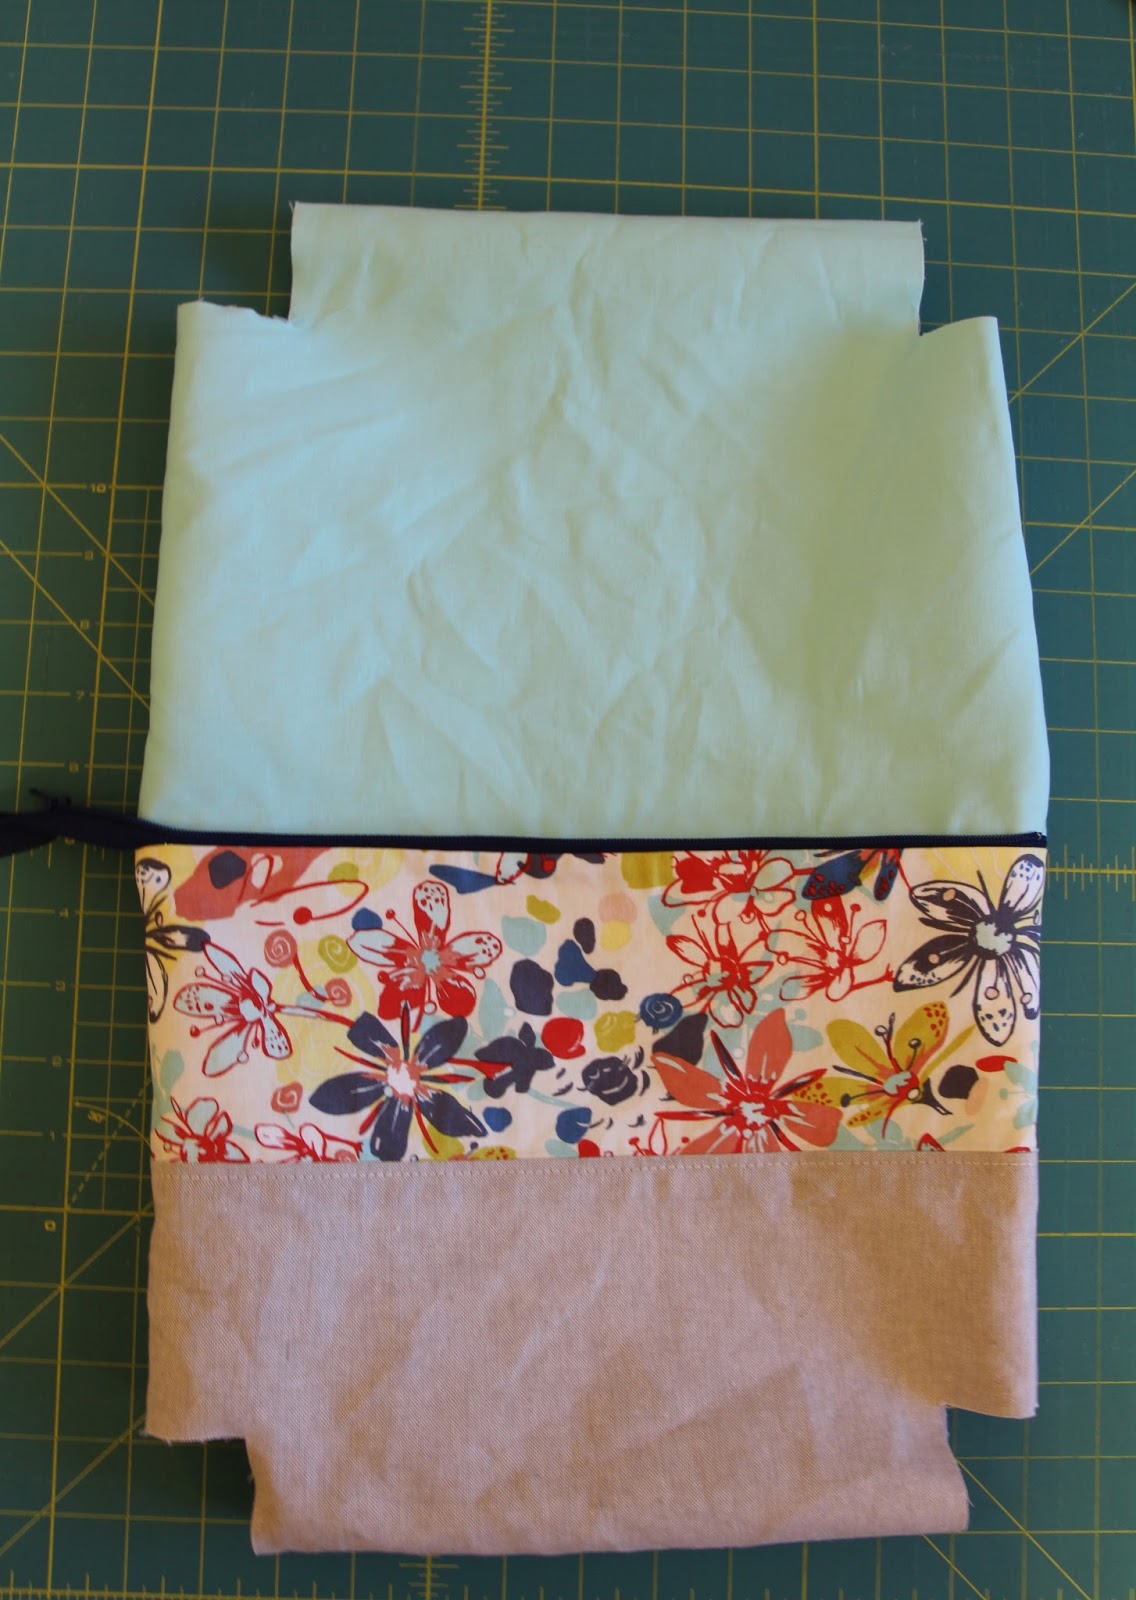
Once I’ve selected my fabrics, I like to sew the pieces together so that the front is one long piece and the lining is a solid piece, instead of two separate pieces per front and back. I find this saves on fabric and time in sewing seams.
For example, in the bag you are about to see me make, the large size, I used one contrast piece measuring 12″ x 14″ and two panels 5″ x 14″. (The pattern calls for 5.5″ but since the interfacing I use comes in a bolt that is 20 inches deep, I’ve chosen to shave a tiny bit off the size to waste less interfacing.)
It’s your call either way. Sew the two ends to the contrast bottom using a 1/2 seam allowance (SA). Pay attention to directional prints to make sure they end up the way you want them.
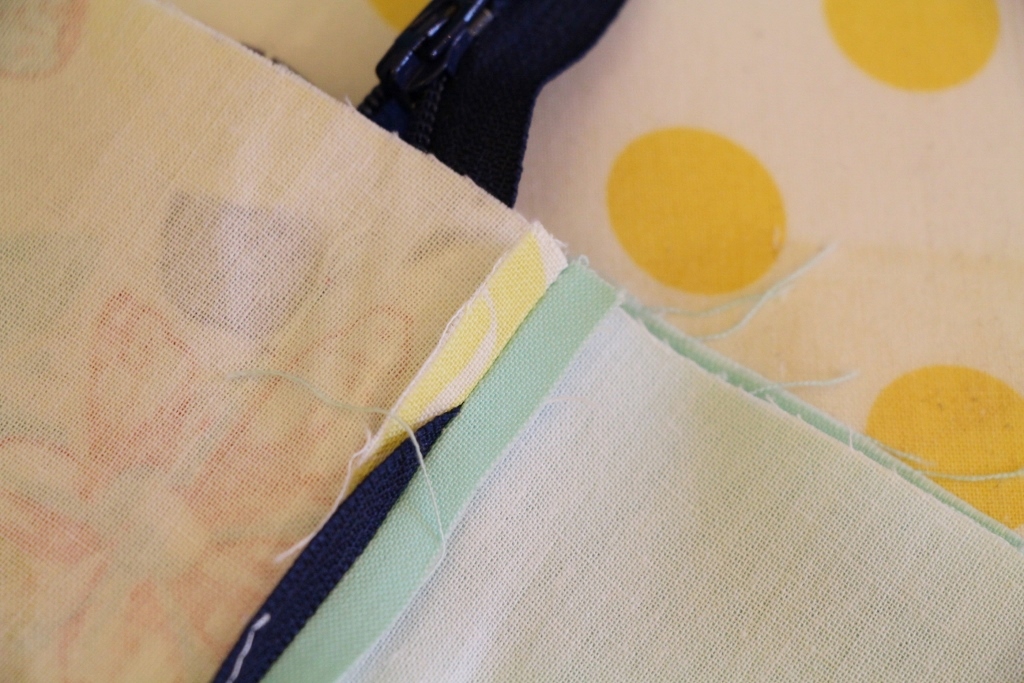
It will look like this when finished.

Front panel: 14″ x 20″
Lining panel: 14″ x 20″
My interfacing of choice is Shape Flex 101 (SF101) by Pellon. It is a 100% cotton, fusible interfacing. When I started making bags (dozens and dozens ago), I tried several different types and weights of interfacings. This is the one I keep coming back to. When applied correctly, it does not wrinkle. I have washed bags used with this (laid flat to dry), given them a nice press, and they look perfect again.
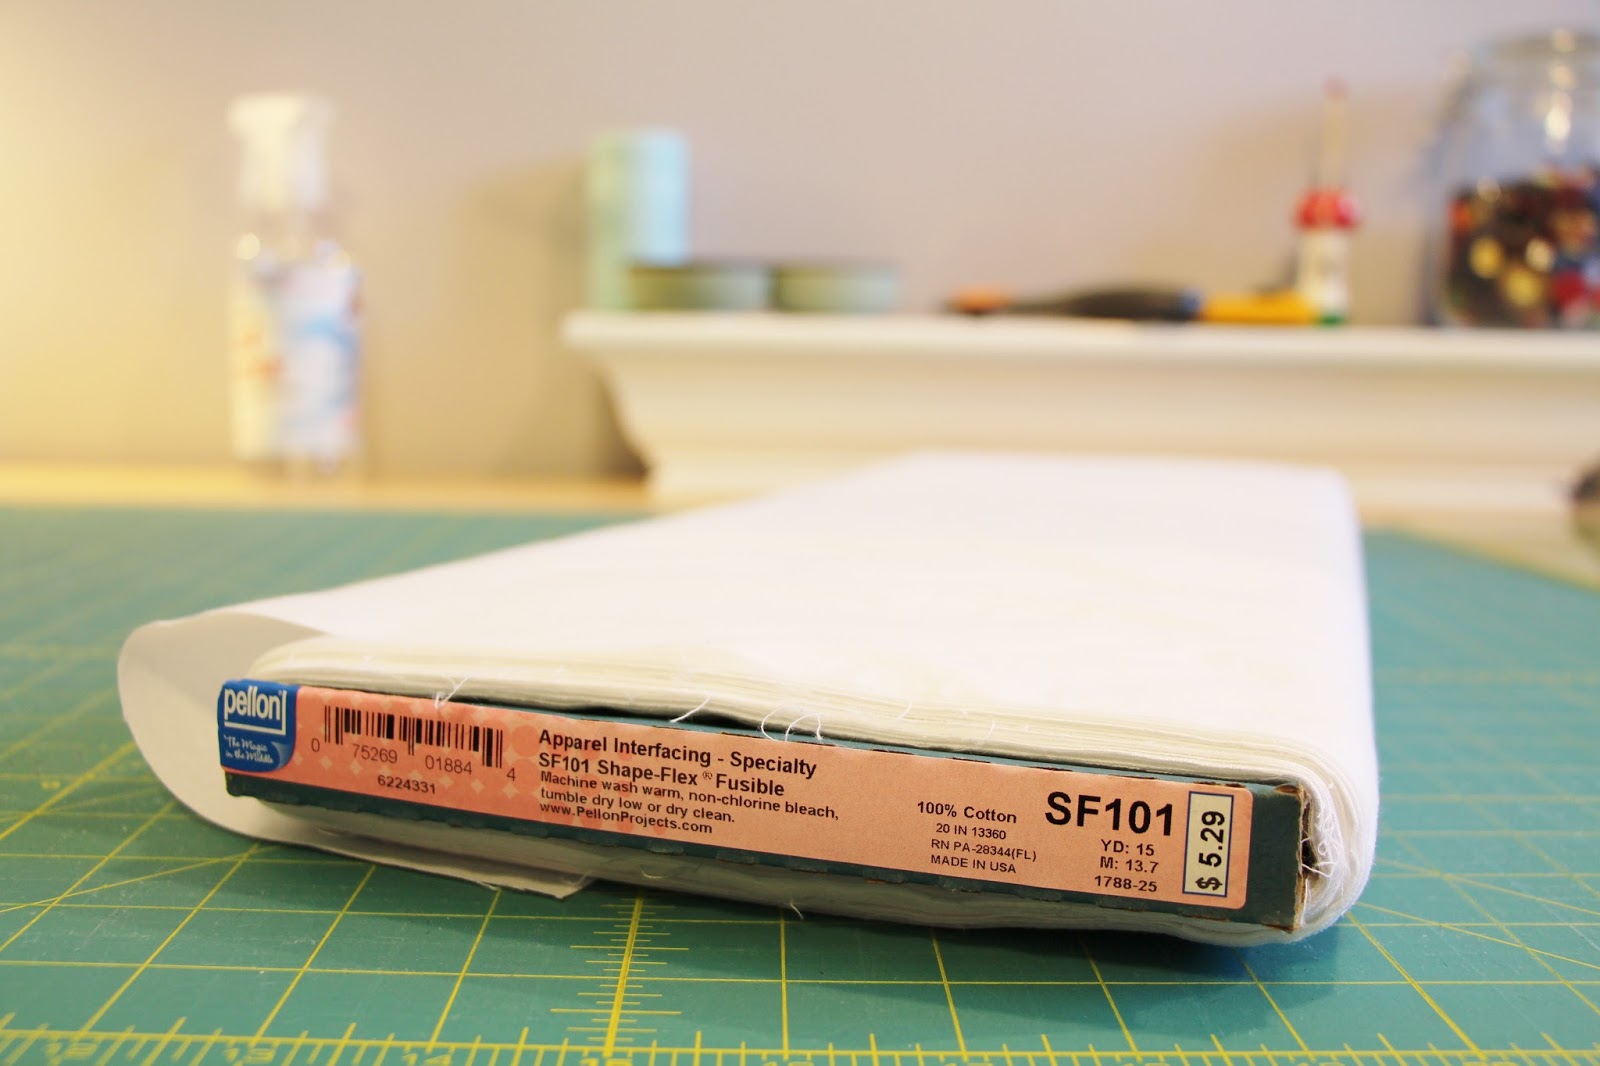
Cut two pieces (depending on the size you are making of course) that are 14″ wide (the interfacing is 20” wide when cutting off the bolt). You will be applying this interfacing to BOTH panels. You could skip interfacing the lining, but I find it gives the pouch nice body and is sturdier.
Press both bag panels to keep things neat (press the seam allowance towards the contrast panel). Then press the interfacing, rough side (adhesive side) down onto the backside of the bag panels.

Next you will need to trim off the little bits of interfacing that might be overhanging the panels. I find this makes for a tidier finished product.

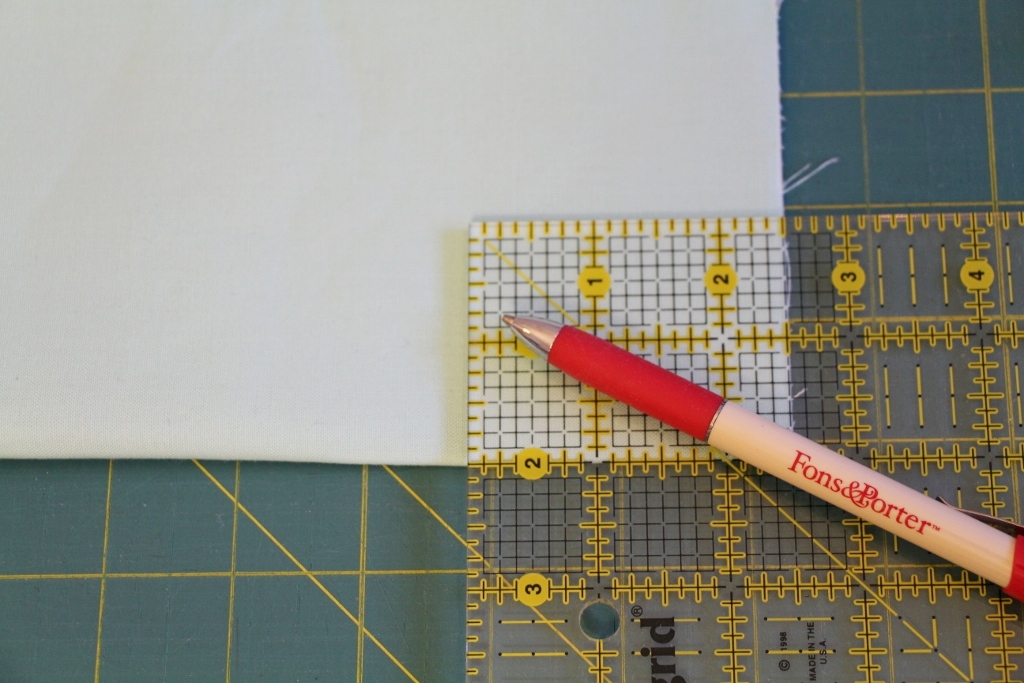
For the next step, you will need a zipper, label (if you choose) and top-stitching thread. I like to use a 40 weight Superior King Tut thread in cream as it seems to go with almost everything.
Apply your label to one side of the panels if you choose to use one, or skip this step.

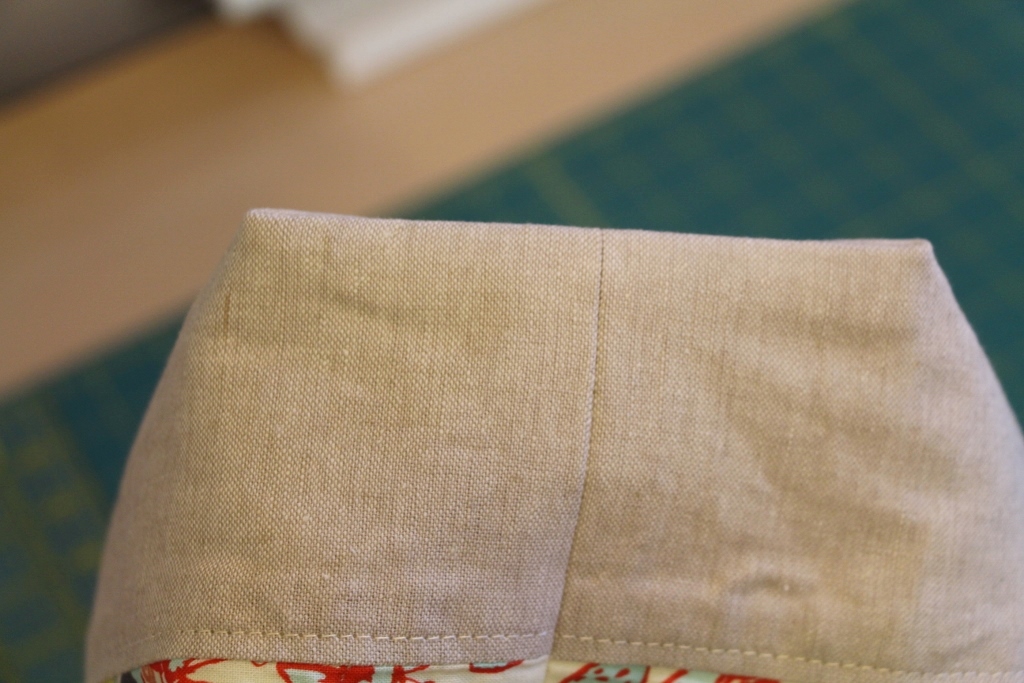
Next top stitch down each side of the panels using about a 1/8 inch SA from the edge of the lip of the contrast. I like to use a nice 3.5 mm stitch length for top stitching.

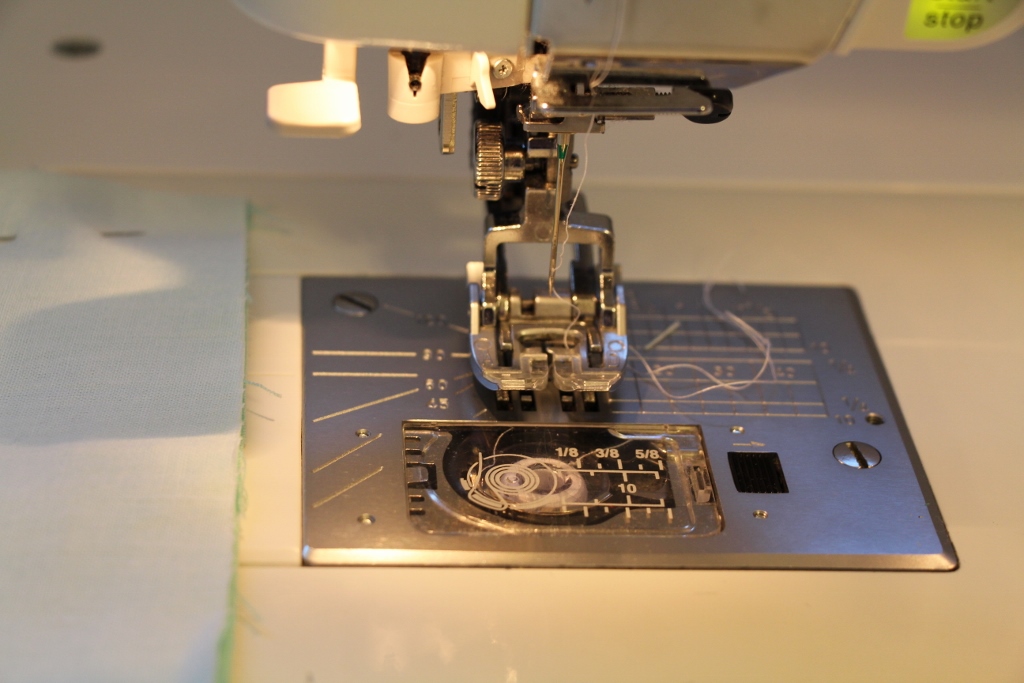
Put your zipper foot in your machine and move your stitch length back to 2.5 or so. Re-thread your machine with regular thread.
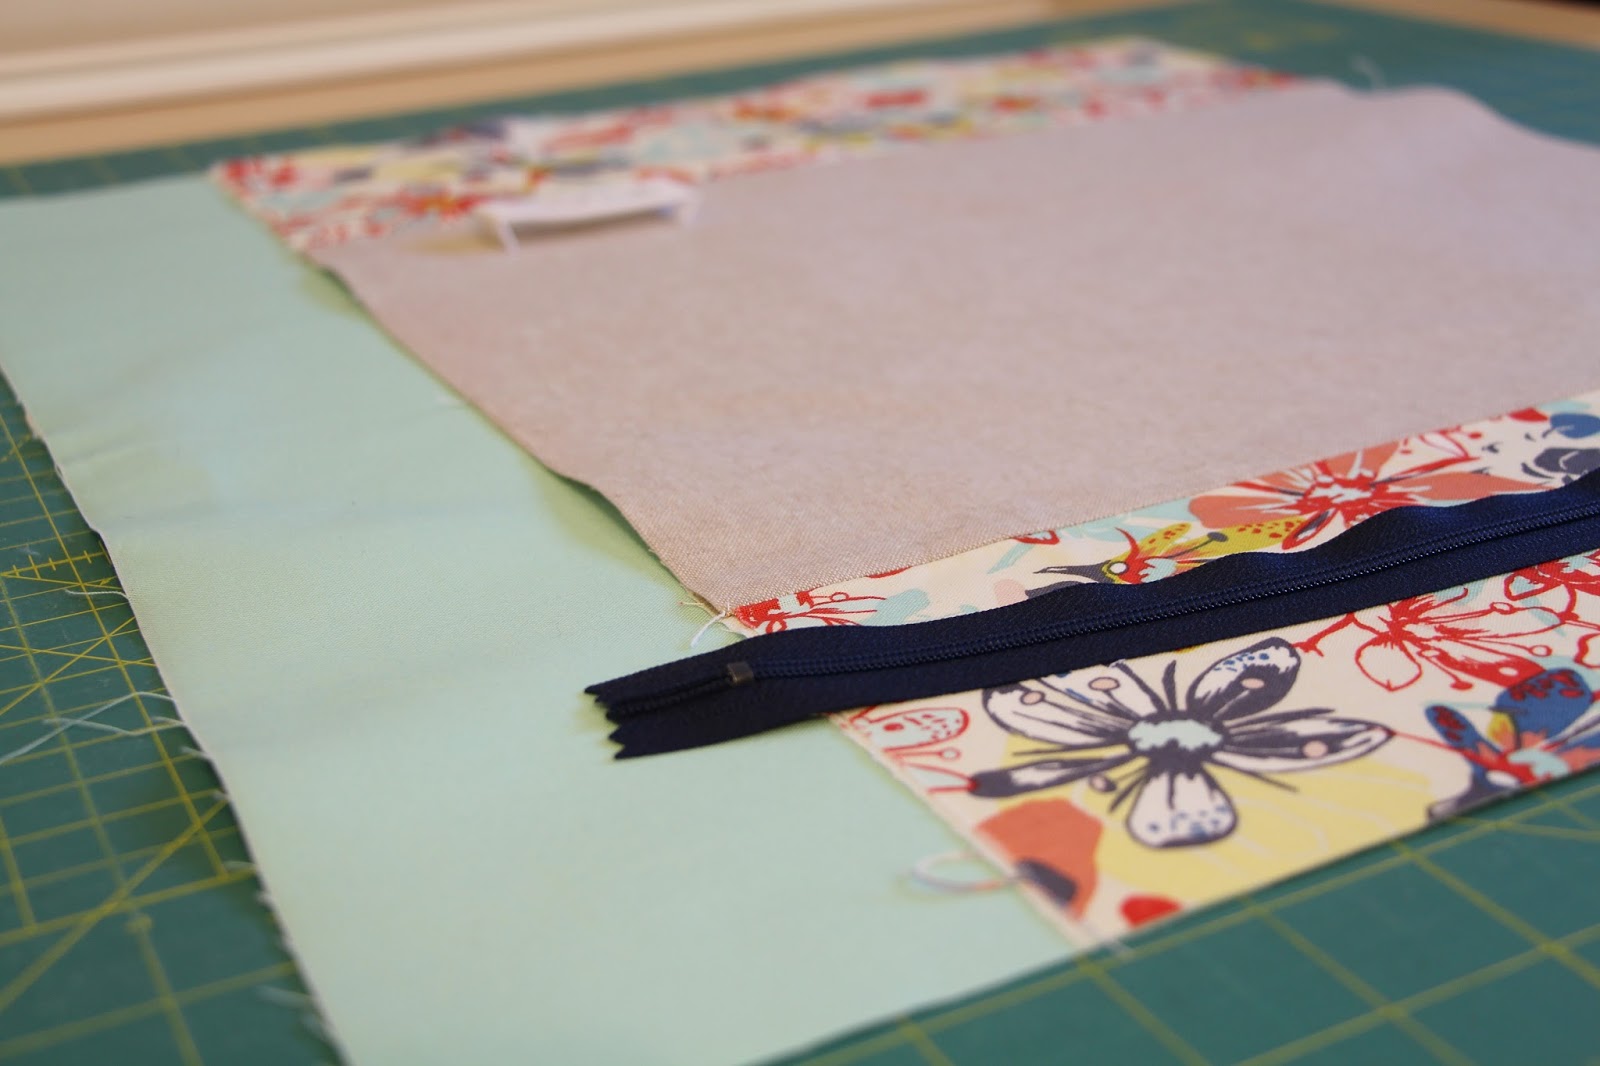
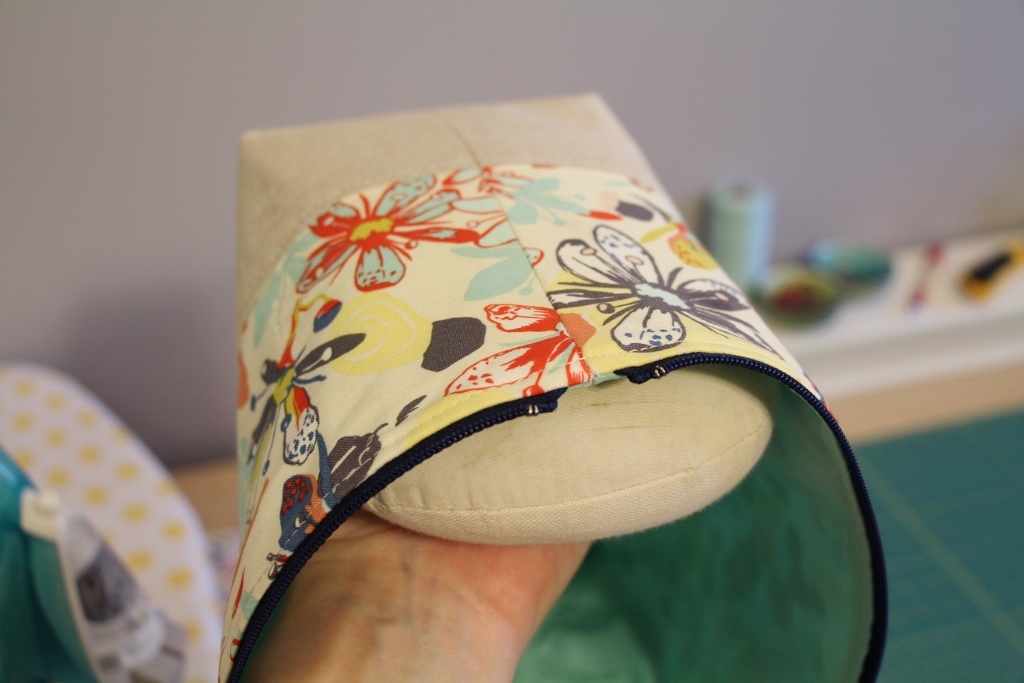
Now we are ready for zipper installation. I like to apply my zippers using one pin. I don’t like to pin the whole zip, as you will see, but if it makes you more comfortable, feel free to do so.
As in the original tutorial, I line up my zipper edge, right sides together with the top of the outer bag panel. Once aligned, I pull down the edge and pin it as in the picture below. The first seam I do is a basting seam. I don’t bother pinning as I like to do this part fast, and it takes me between 6-7 minutes all told to get the entire zipper and lining applied. The basting seam makes this a very accurate process.
Once you’ve pinned the little edge down, start sewing right there using about a 1/8″ SA or a bit more, but NOT a 1/4 inch seam allowance. Sew down the length of the zipper, using your fingers to keep the zipper right against the edge of the bag panel. Stop when you are about 2″ from the bottom of the panel. (I usually just veer off the edge of the fabric here. No one will see this step. Don’t worry.)

Next I take the zippered edge of the bag panel and place the lining panel against it, right sides together. Making sure that the outer panel with the zipper is on TOP of the lining and that you are starting about 2 inches down, start sewing with a 1/4″ SA. Sew right to the end of the panel and do a back stitch.
Now, turn the zipper unit around, and we are going to sew up that little loose end on the bottom of this first side (where the “tail” of the zipper lives).
Position your needle, 1/4″ in from the edge and a bit above where you started sewing your last seam (as we are now sewing in the other direction), and start sewing. When you reach the pull part of the zipper while sewing, stop with the needle down, and lift the presser foot all the way up, and shift the zipper pull behind the presser foot, before continuing sewing.
When you get to the bottom of the bag panel, about 1″ up from the edge, stop with your needle in a down position, and shift the zipper to the left. I find it helps to lift the presser foot and lower it to release the tension in the fabric at this point. Once the zipper is out of the way, continue sewing until the end of the fabric and remember to back stitch.

Next we are going to flip the bag panel and attach the zipper to the other side of the bag and lining panels.
A good rule of thumb for this way of installing a zipper in this manner is to keep the zipper on the top of which ever piece you are sewing. This prevents shifting, I’ve found and minimizes problems with alignment later on. It also allows you to sew without pinning constantly.

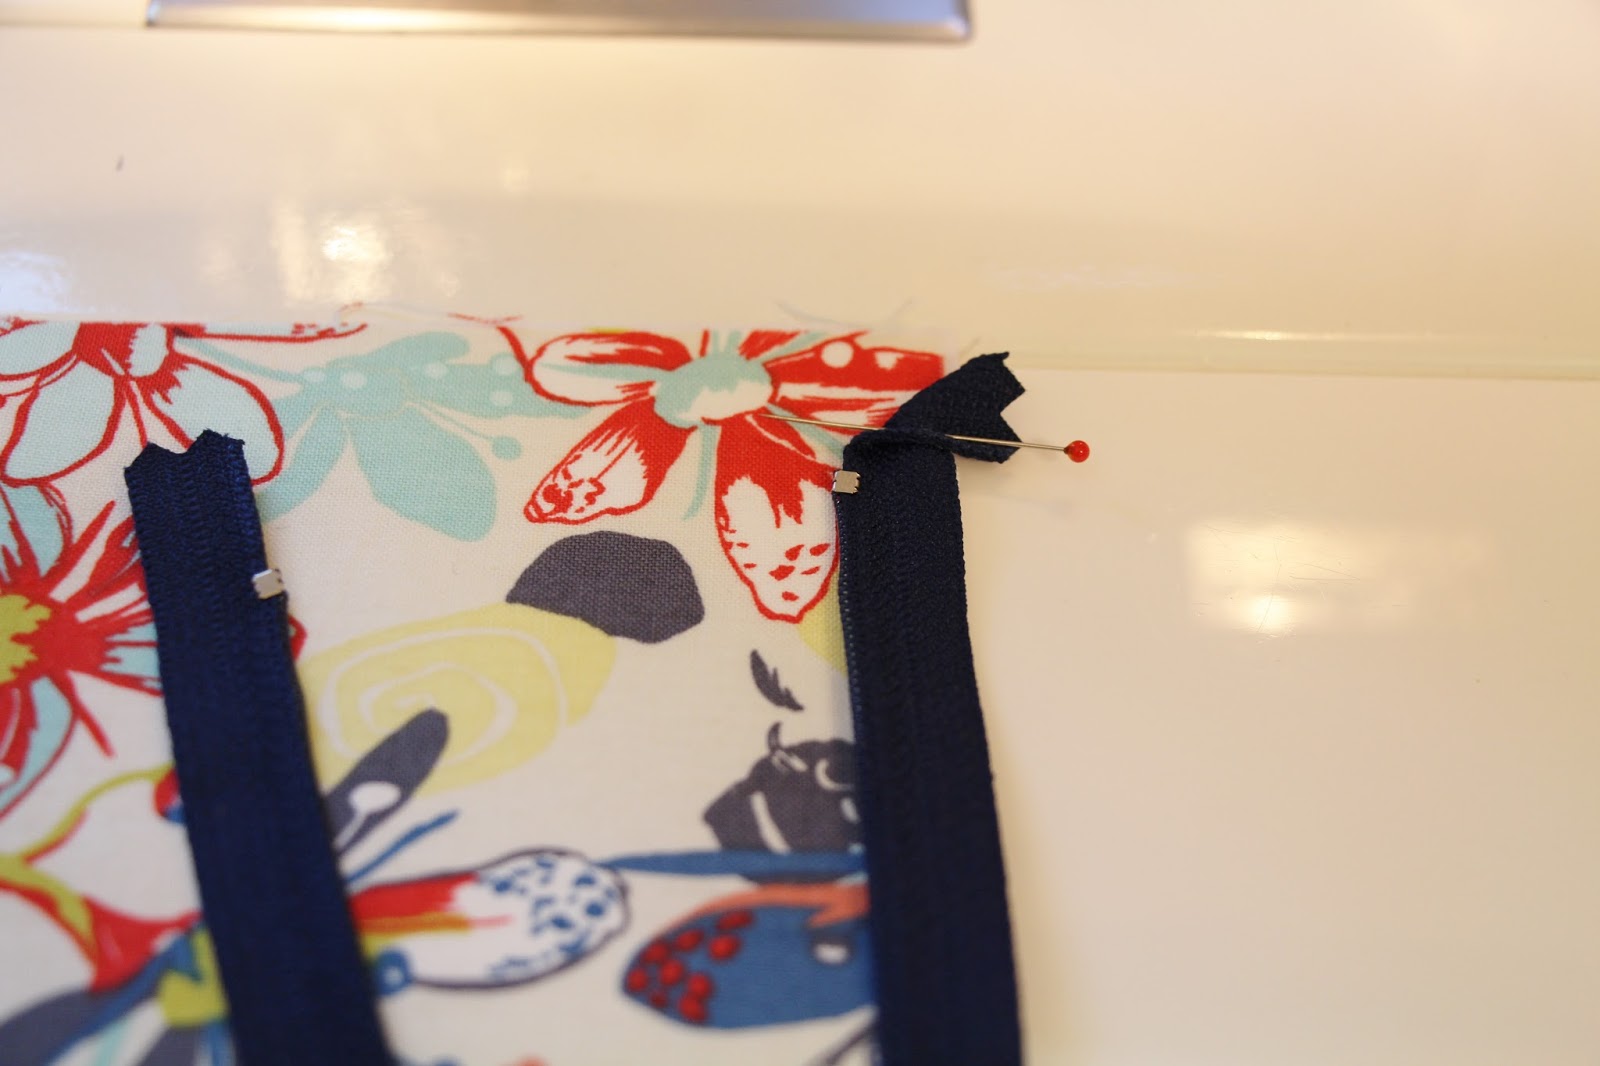
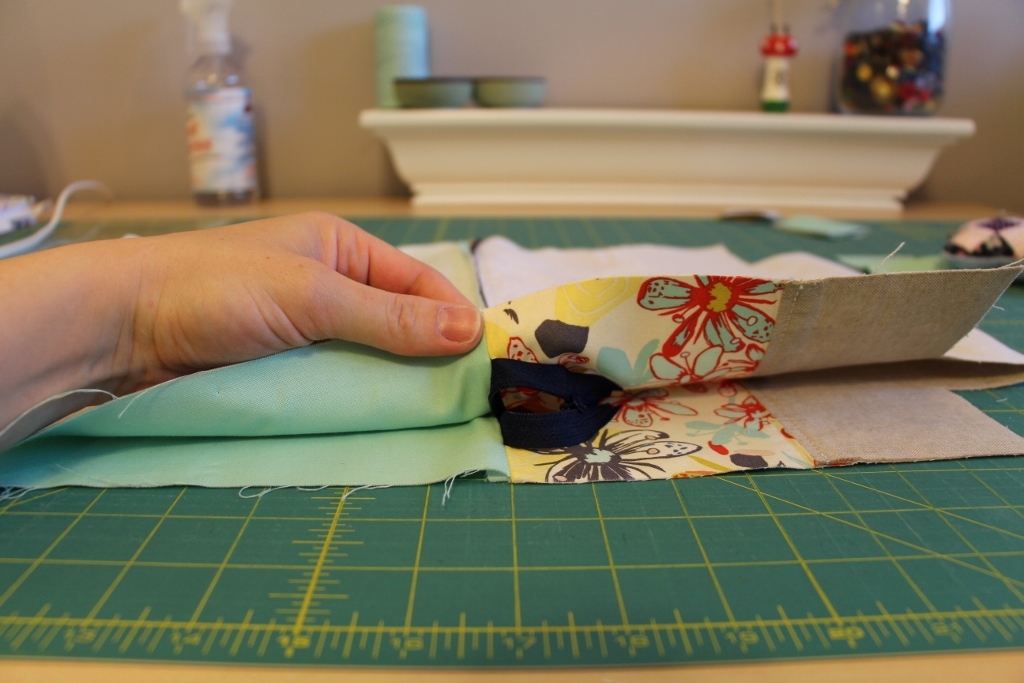
I know this part will cause questions, so basically you are folding the outer bag panel in half to apply the zipper to the other side. I usually hold it up and make sure that the edges line up, pinch it with my fingers, or pin it at this point, and start sewing, again, 2 inches down from the top edge. The two inches you are NOT sewing in this basting seam will be caught in the next seam and finished there.
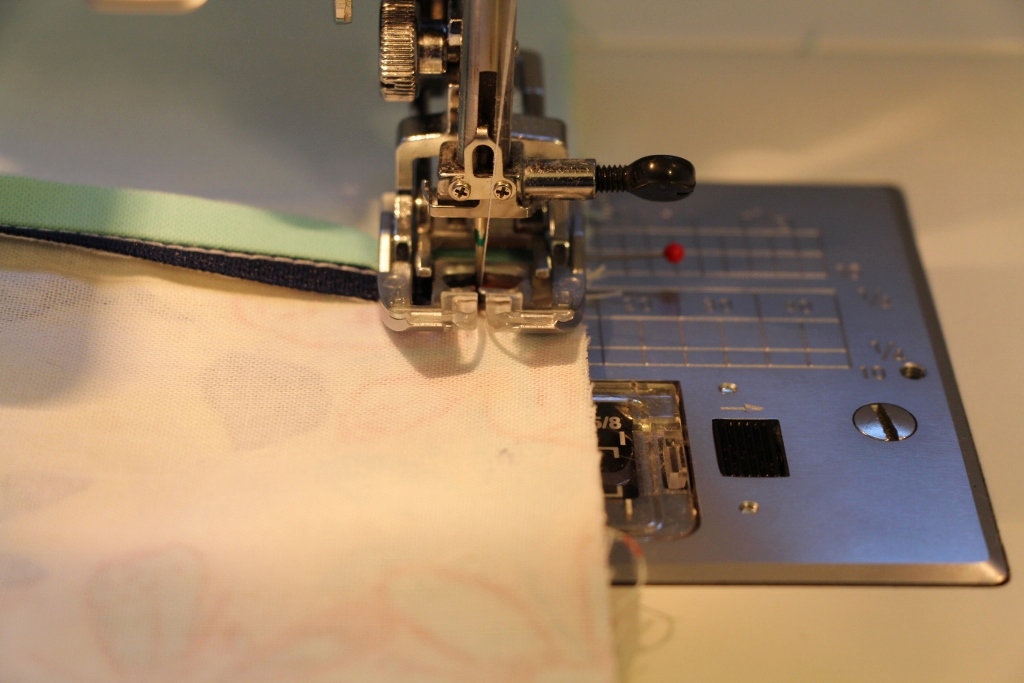
Again, this seam is a basting seam, so sew only about 1/8″ in from the edge or a bit more than that, but NOT 1/4″. When you reach the part shown below, pin the edge down, as shown and sew over the zip this way.

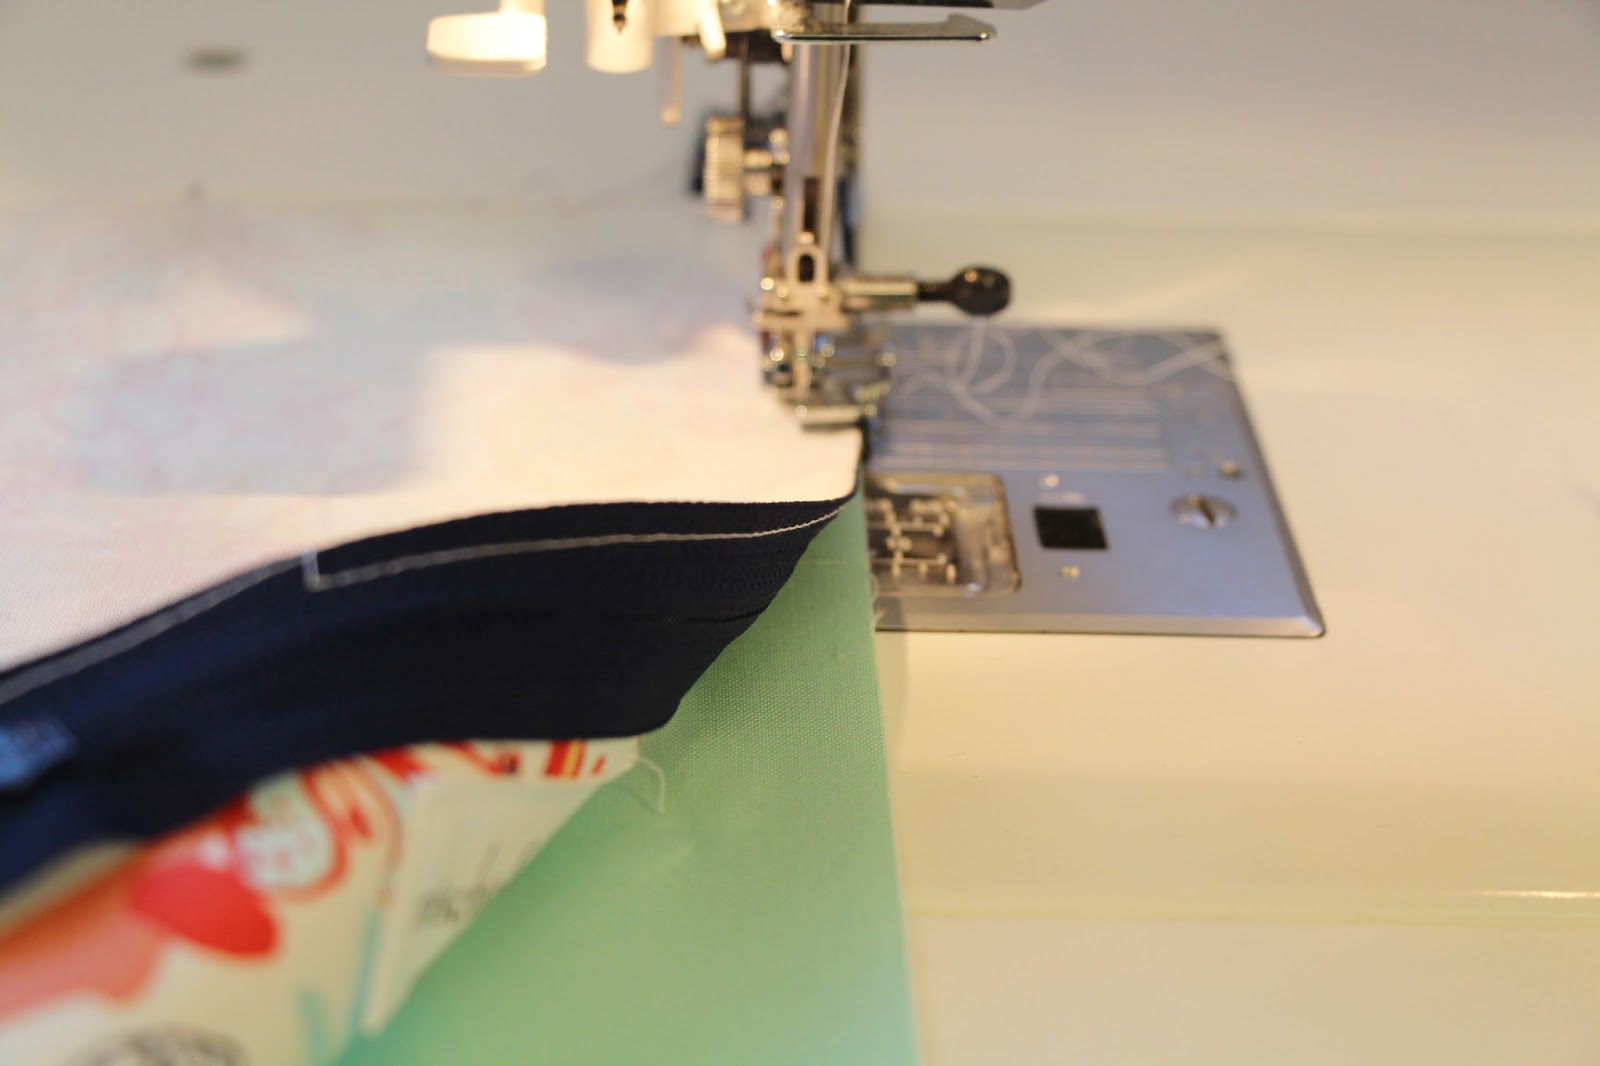
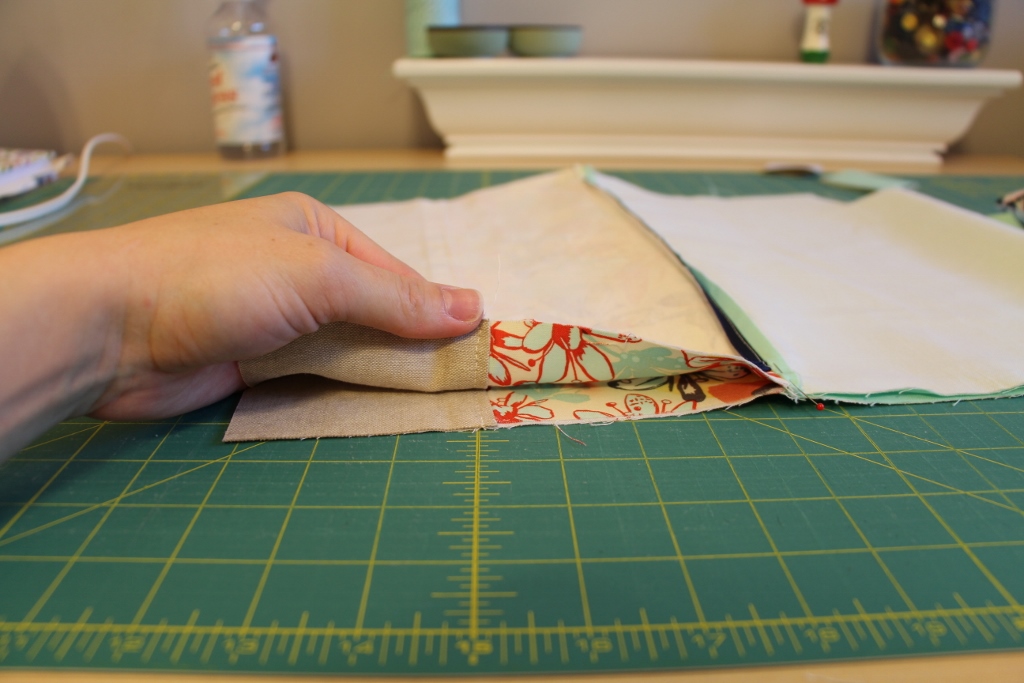
Now for the last seam. Flip the unit again, pulling up the loose end of the linging, fabrics right sides together, starting at the TOP (shown below) of the zipper. Start sewing using a 1/4 inch seam and backstitch.

Sew until you are about 1″ from the bottom of the bag panel. Stop with your needle in a down position, and shift the zipper to the left. Lift the presser foot and lower it to release the tension in the fabric at this point. Once the zipper is out of the way, continue sewing until the end of the fabric and remember to back stitch.
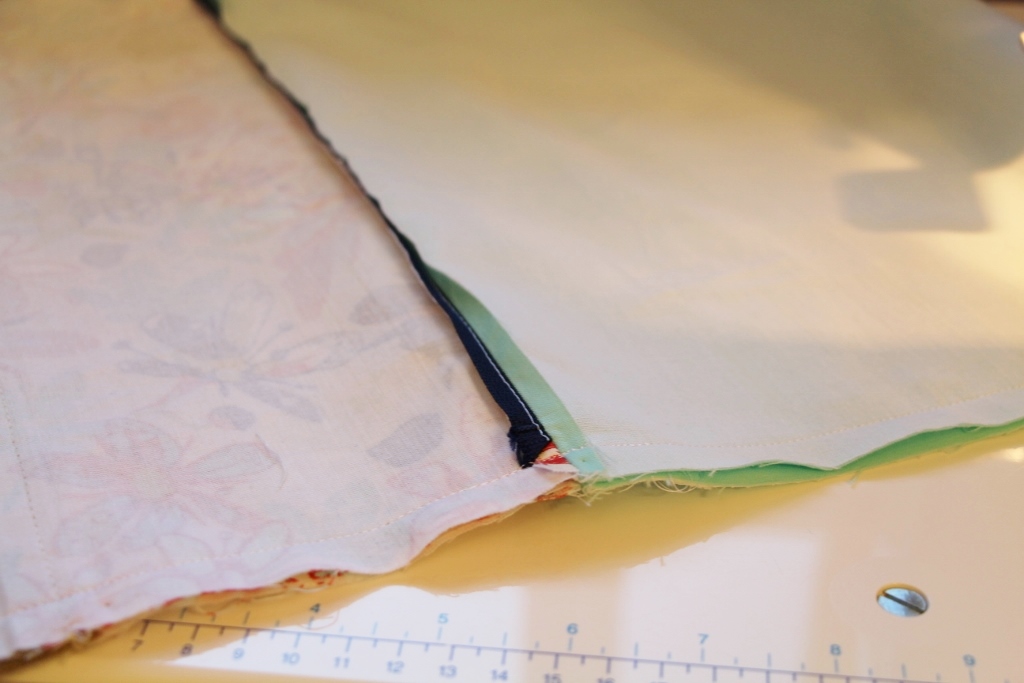
Your zipper is in. I know it sounds complicated but once you’ve done it once or two dozen times, you will be on autopilot and won’t even have to think about it. Trust me.
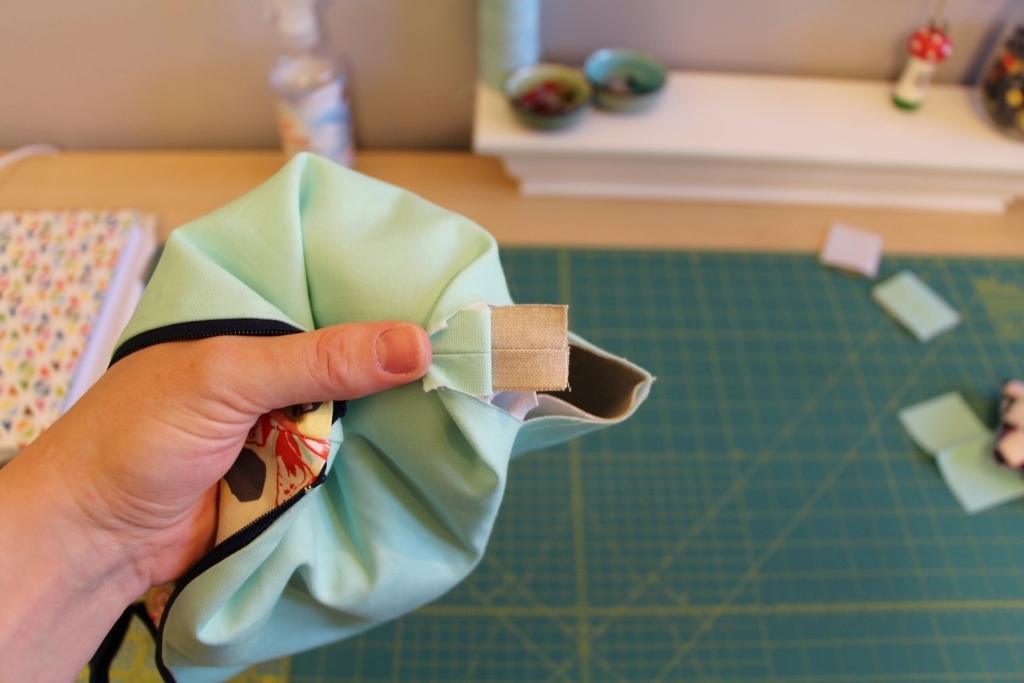
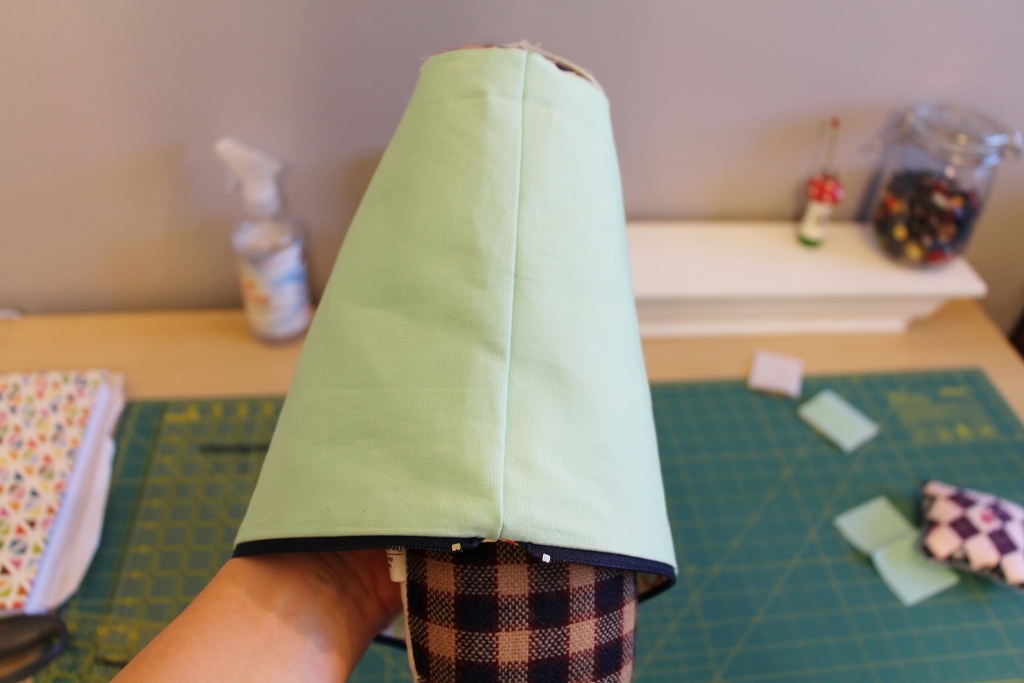
This is what your finished “unit” will look like. Two loops of fabric connected by a zipper.
.jpg)
Another view.
.jpg)
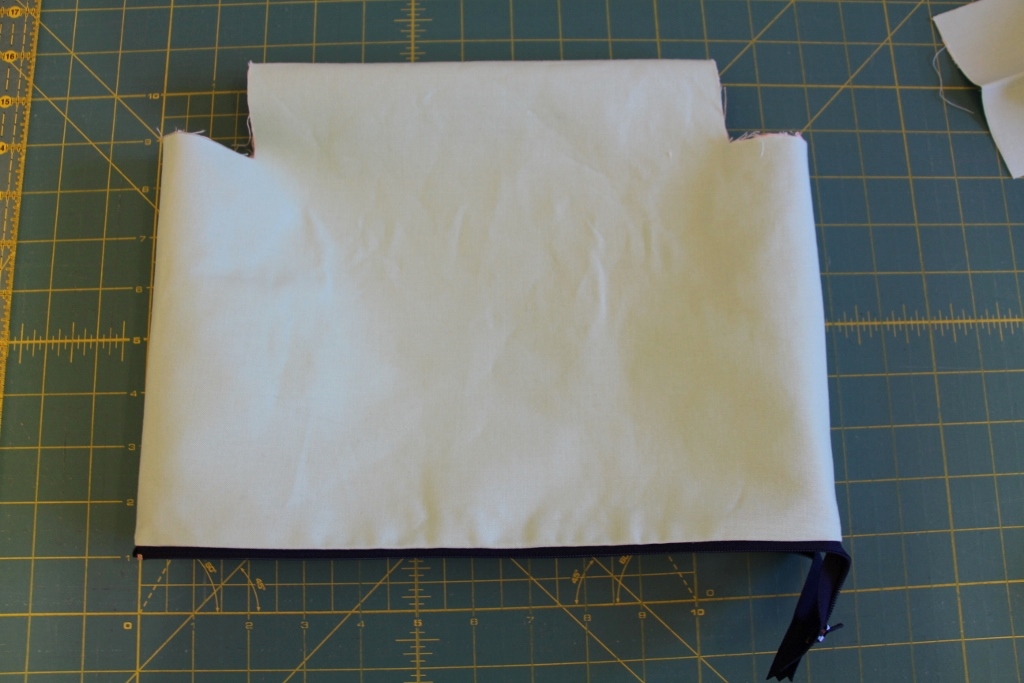
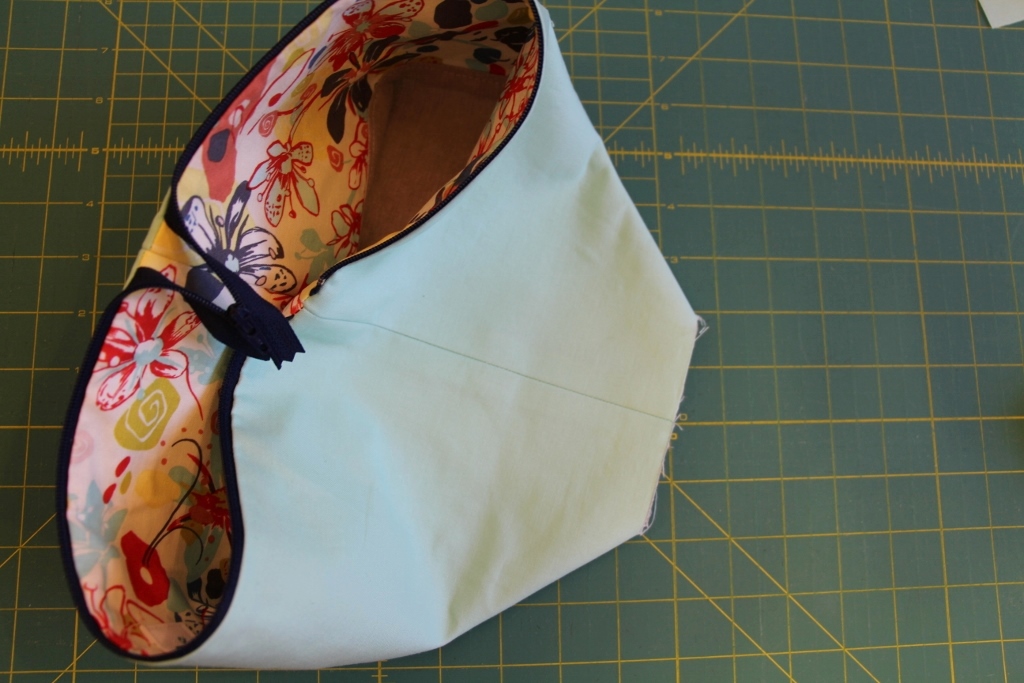
Open the zipper and turn the bag right side out.
.jpg)
I like to give the zippered edges a really good press here, making sure that you pull back any excess fabric from the zipper. (This prevents fabric from being caught in the zipper when being used.) Your bag should look like this now.
.jpg)
.jpg)
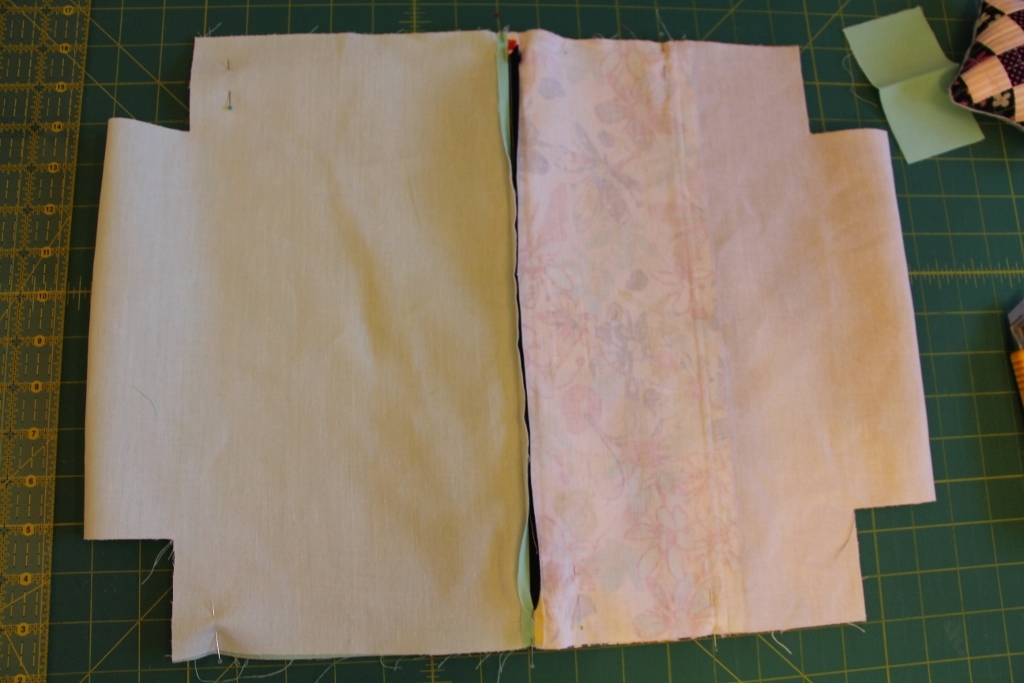
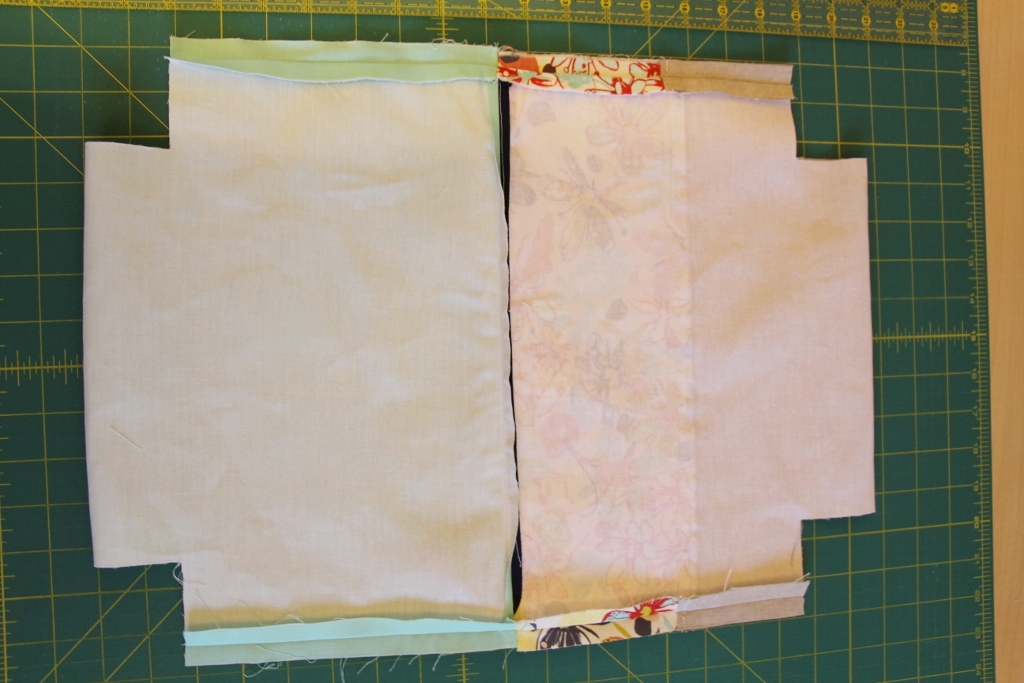
Allign everything so that the layers are smooth and the edges of the contrast panel (above) match up. Do this on each side and pin the layers in place. When we turn everything right side out later, the pouch edges will line up and look professional. Iron the bottom fold so that it lays nice and flat for the next step.
.jpg)
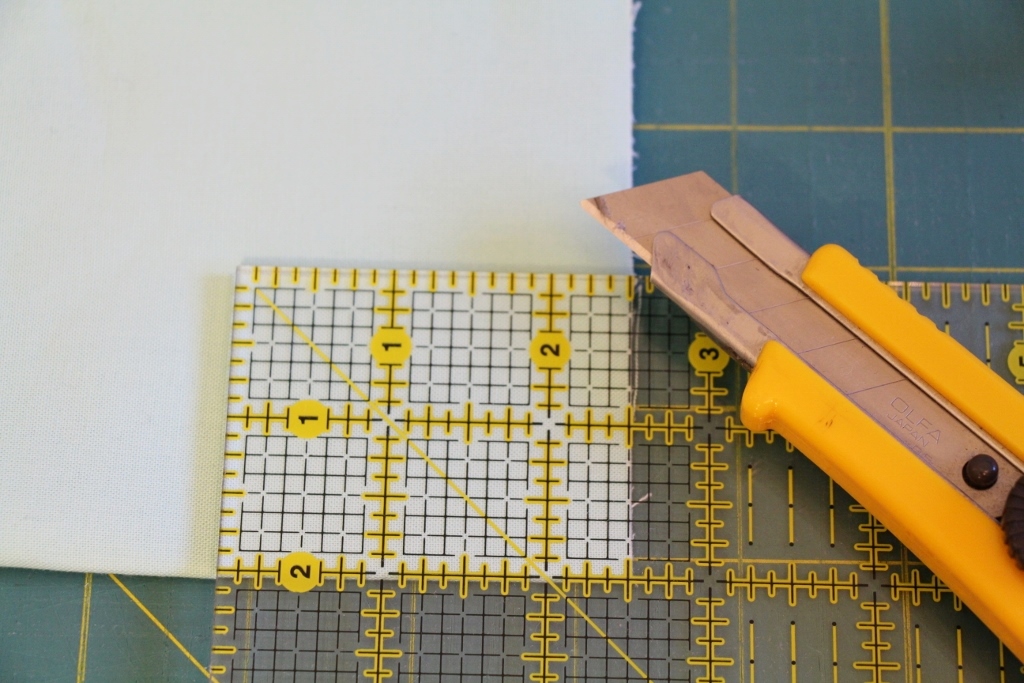
For the large size bag, we are going to box cut it 2.5″ from the outer unsewn edge and 2″ in from the bottom, folded edge. Mark the line with a fabric pencil.
.jpg)
Using a sharp exacto knife and the edge of your acrylic ruler, slice along your drawn lines.
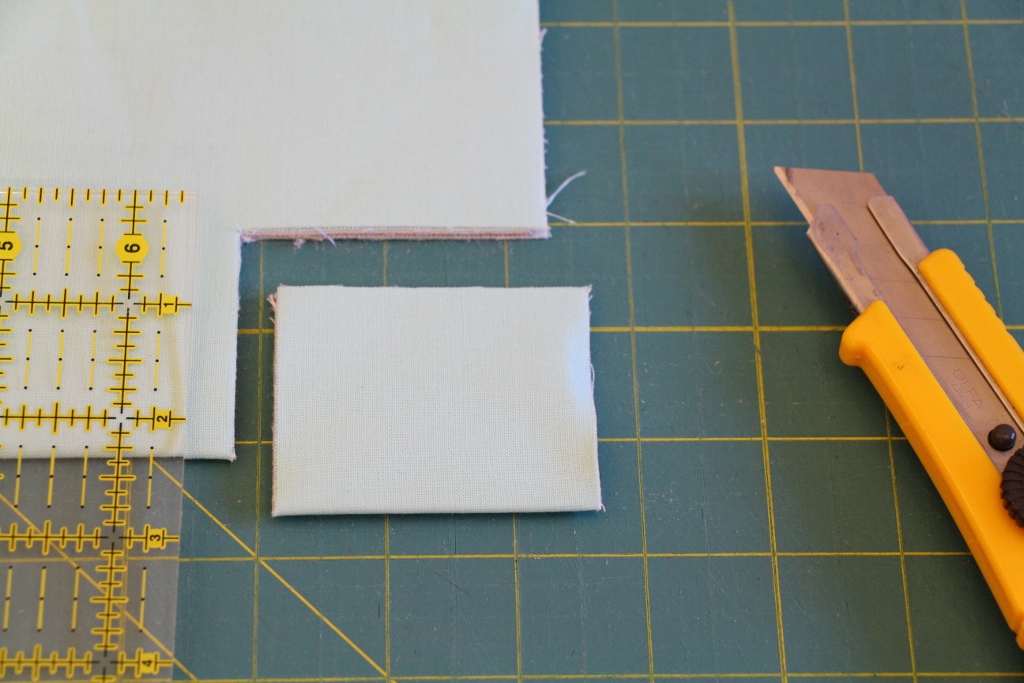
It will look like this.
.jpg)
Save this little bit of lining fabric for later.
.jpg)
Open the bag up and pull inside out again so that the outer panel is inside out on on one side and the lining inside out on the other side of the zipper. Press the zipper layers open on either end of the zippers (4 parts total). This makes the future steps flow easily.
.jpg)
To prep for the side seams, on EACH side, match up the center zipper seam and pin.
.jpg)
.jpg)
Match up the contrast panels edges and pin.
.jpg)
Once all pinned, it will look like this and be ready for stitching. Remember to back-stitch.
.jpg)
Switch to your walking foot.
.jpg)
Stitch down the edge of each side of the bag using a 1/2″ SA. Don’t forget to back-stitch. (I keep saying this but I find it is KEY to a long lasting bag.)
.jpg)
It will look like this when finished. If you like, add a bit of back-stitching or a second row of stitching over where the center zip seams are for extra reinforcement.
.jpg)
Using your iron, press open one edge of each side of the bag, as below.
.jpg)
Reaching in, through one corner, gently pull the opposite corner through the opening and out the other side to turn your bag right side out. (see below)
Slip the outer part into the lining. This is where we are going to make sure that the parts we just ironed open stay open and flat and line up when folded in half. (You will need to put your hand in side and make sure that the seam stays open all the way to the to edge of the bag and work down from there.)
.jpg)
Like this:
.jpg&container=blogger&gadget=a&rewriteMime=image%2F*)
At this point, I take I pressing cushion, and put it inside the bag and press each side’s seams flat.
.jpg)
This is where we are at:
.jpg)
To prepare the bottoms for boxing, gently coax the fabric to form a seam. It will look like this. There shouldn’t be any bunching. It will want to take this shape naturally, so let it.
.jpg)
Pin in place, and repeat on the other side.
.jpg)
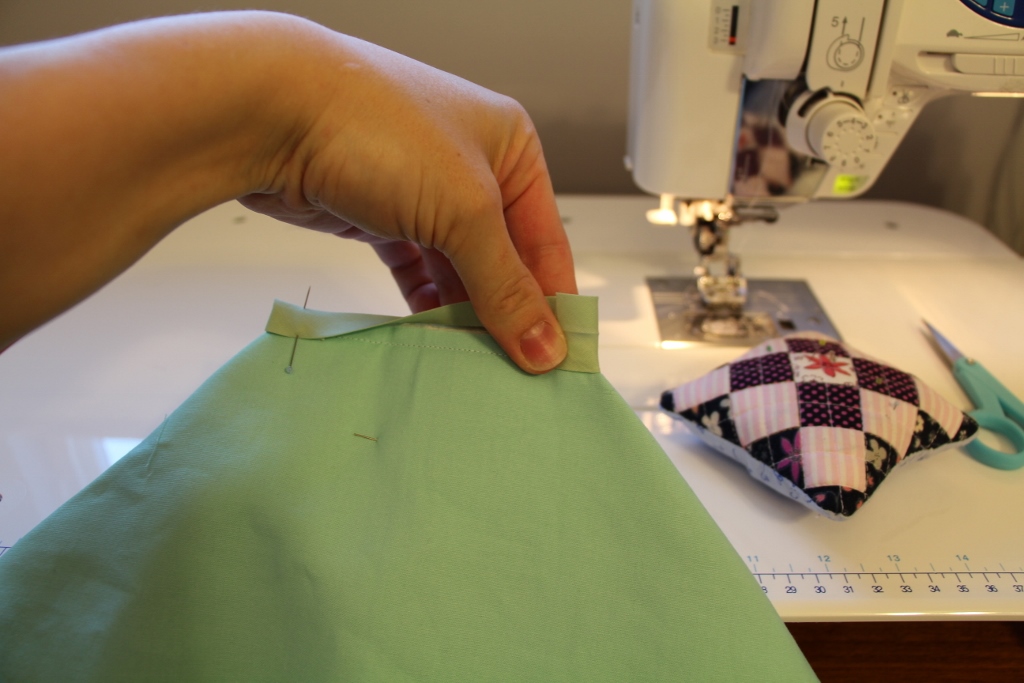
To finish this seam we will be using bias tape. I use the extra wide, double fold variety as shown below. Sometimes I try to match the lining, and other times I like to make it a feature point as I do with a zipper. It’s up to you really.
.jpg)
Measure out a portion that extends beyond the edges of your future seam by about 3/4 of an inch or so on each side. You will need two pieces at this length.
.jpg)
Open the bias tape and center it on the boxed edge.
.jpg)
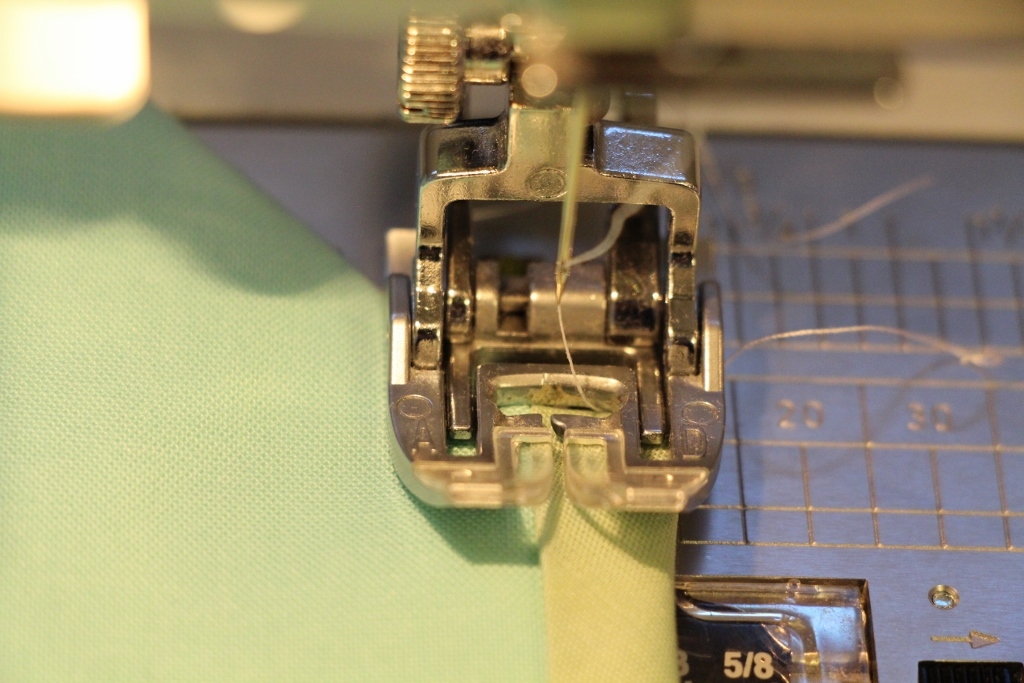
Using a quarter inch seam, stitch, with back-stitching at the beginning and end, the entire length of the opening.

Flip the tape over to the other side, as below, and keeping it open, fold in one edge.
.jpg)
Fold down the upper edge, enclosing the raw edges.

Pin in place as shown.
.jpg)
Fold in the other side and repeat the pinning process, but this time, put your pin out at a 90 degree angle, just catching the bias tape and the lining. (This prevents my sewing machine from eating my pin as I stitch or it getting caught.)

Pin the center as well.

Flip it over and start stitching just in from the folded edge of the bias tape, using a back-stitch at the beginning and ending. (Note: the sun is setting here and my pictures are starting to reflect that – I apologize.)
.jpg)
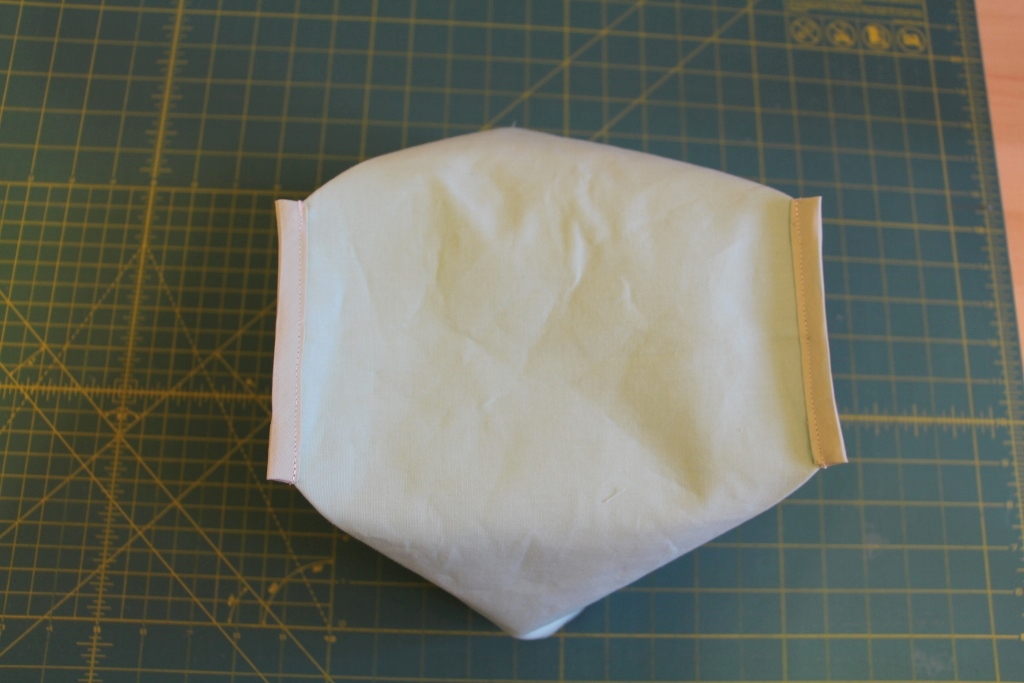
Repeat this process on both sides. Your finished product will look like this.
.jpg)
.jpg)
Flip the bag right side out and pushing the bias tape outwards, press the edge of the boxed corners.
.jpg)
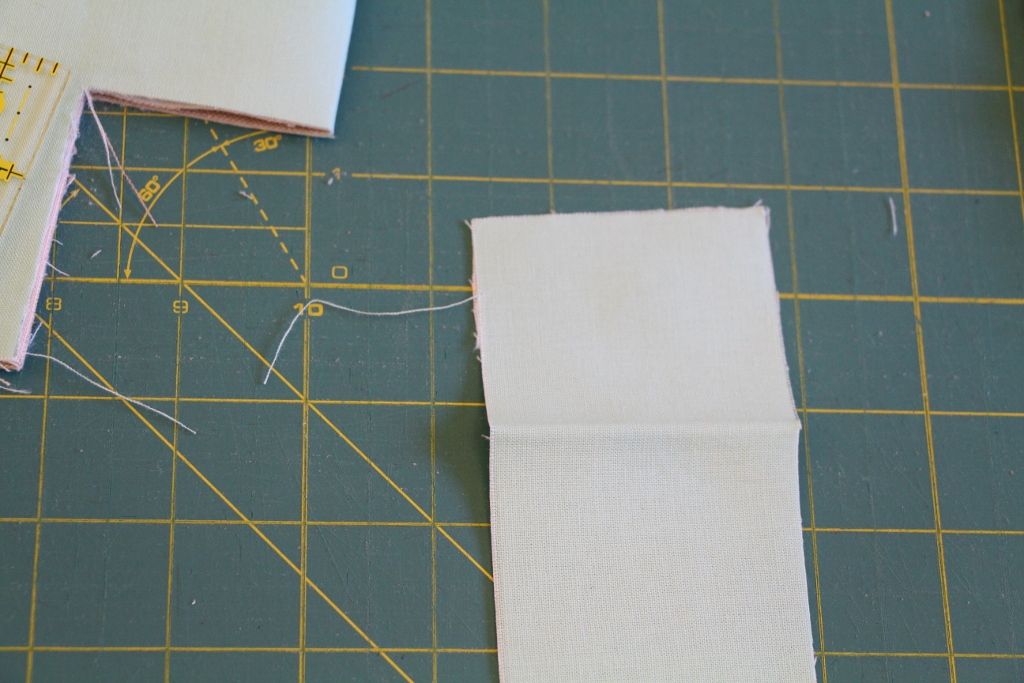
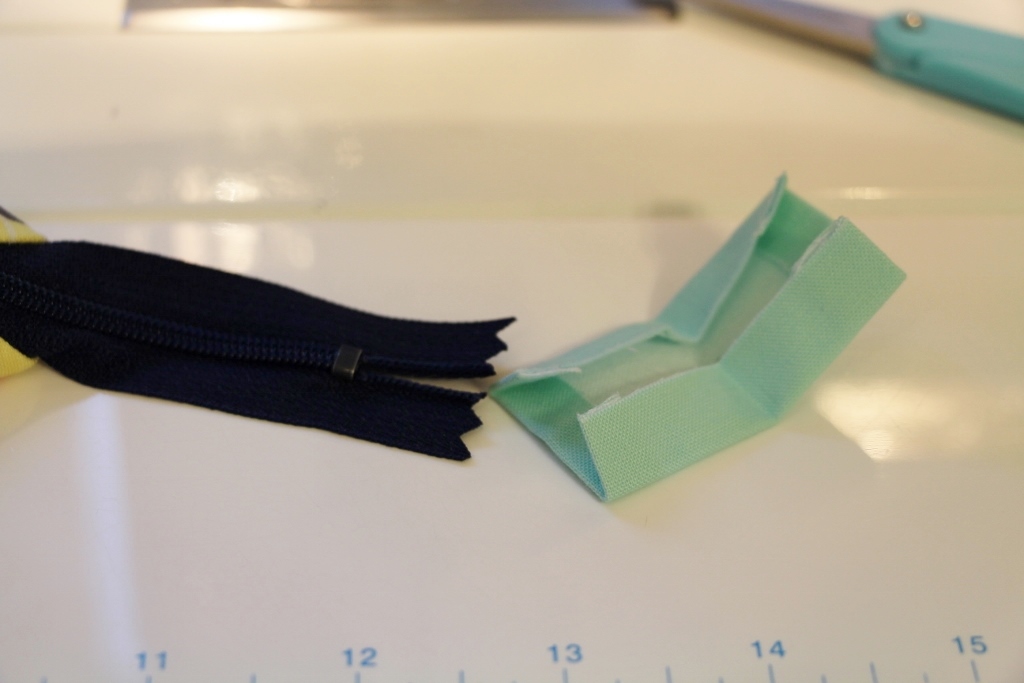
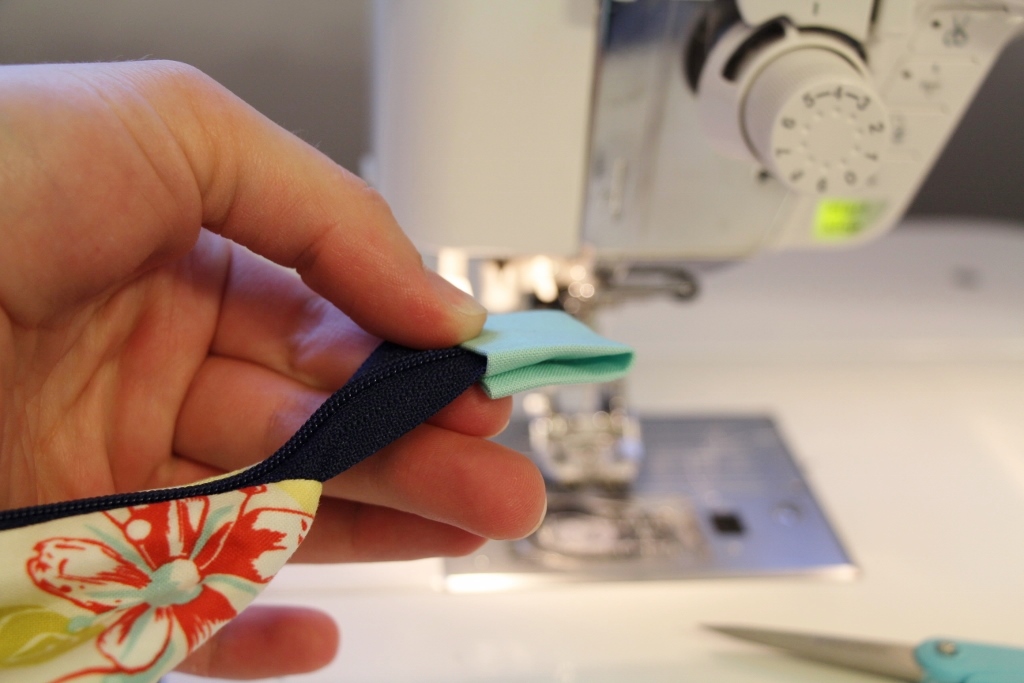
Using the small piece of lining you put aside, cut it down to 2″ by 3″. I love how this step is economical and the fabric is already interfaced. Win win!

Following Anna’s original instructions, prepare the pull tab for the zipper.
.jpg)
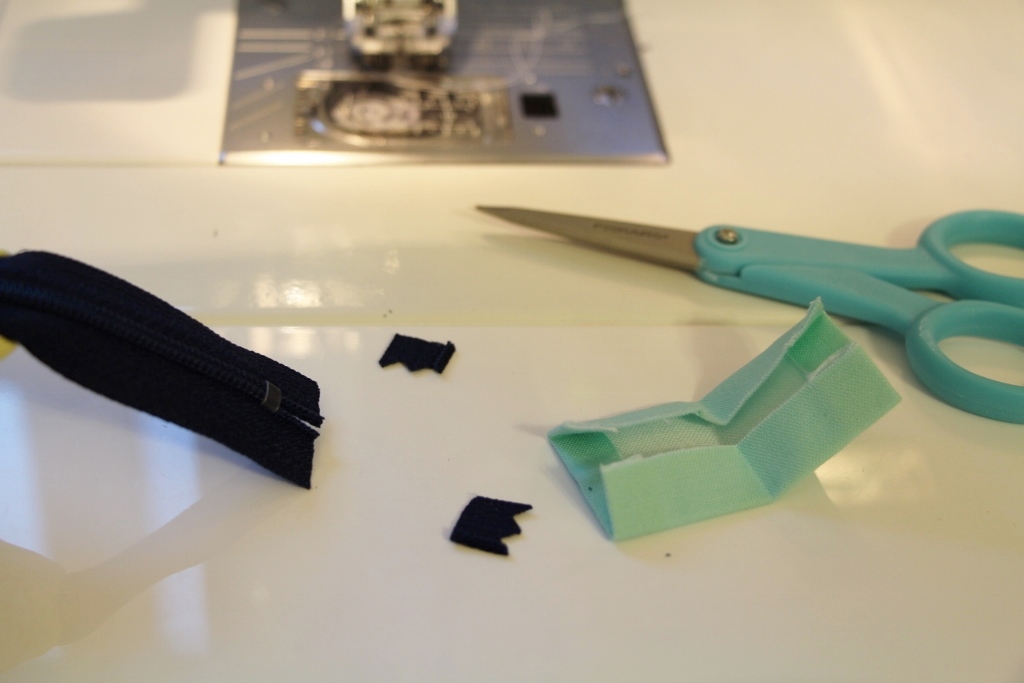
I like to trim a small amount off the end first.
.jpg)
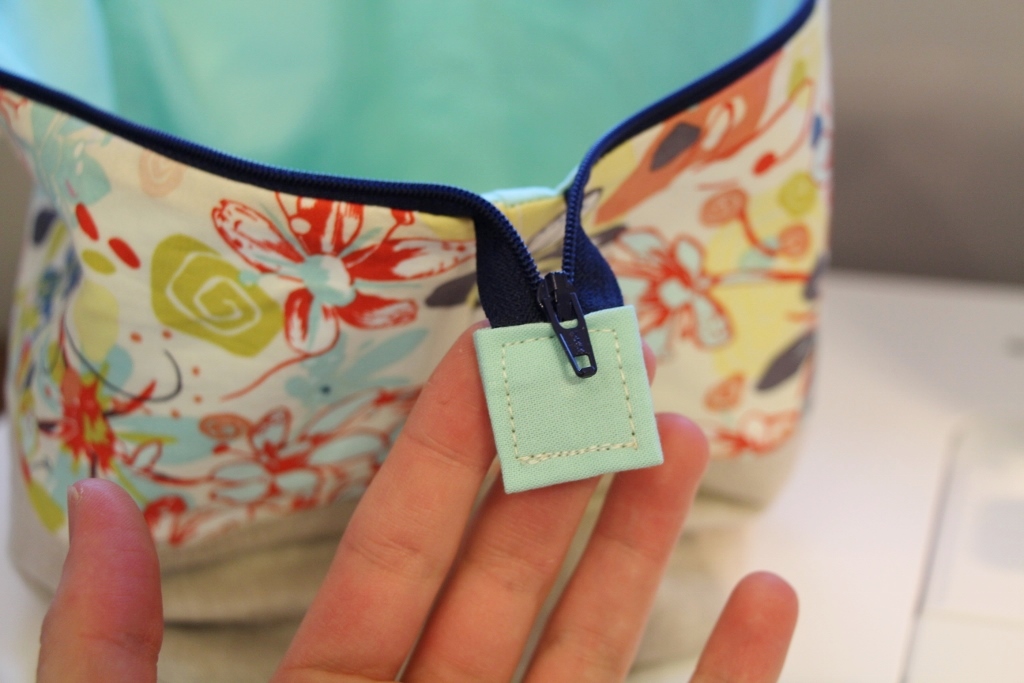
Apply to the zipper and stitch. (I use my top stitching thread here.)
.jpg) (
(Et voila!
.jpg)
Lastly, we are going to top stitch around the upper edge of the bag. I like to start at the seam under the pull tab, using a 3.5 mm stitch length. Go slow and steady.
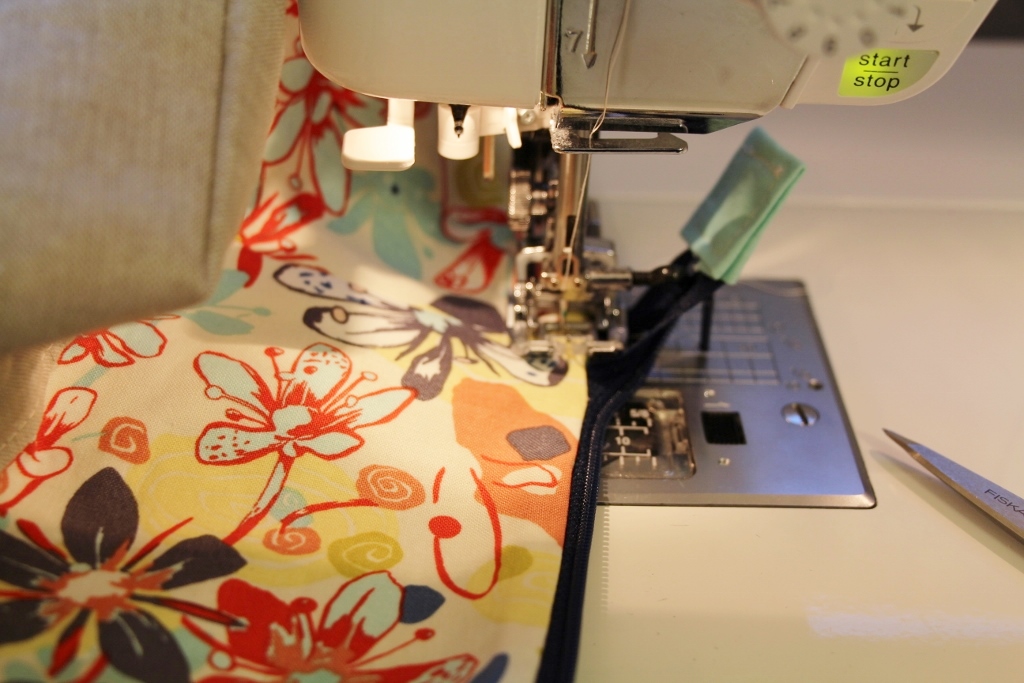.jpg)
When your starting point comes back around, trim the threads before they approach the needle to prevent bunching etc. Back-stitch once you’ve completed the circuit.
.jpg)
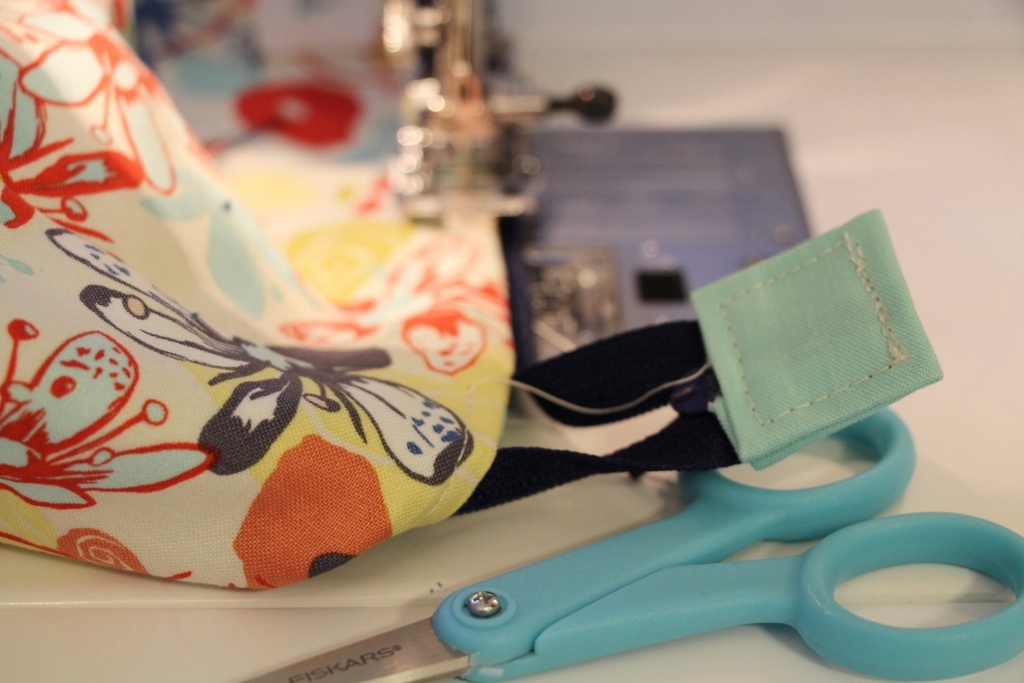
SO CLOSE! Now you are ready to give it one last good press and you’re done.

I like to use a pressing aid that I’ve borrowed from my mom and keep forgetting to return. Repeatedly. I just use it and juggle the bag around, easing out any wrinkles and creases. It works awesome.
.jpg)
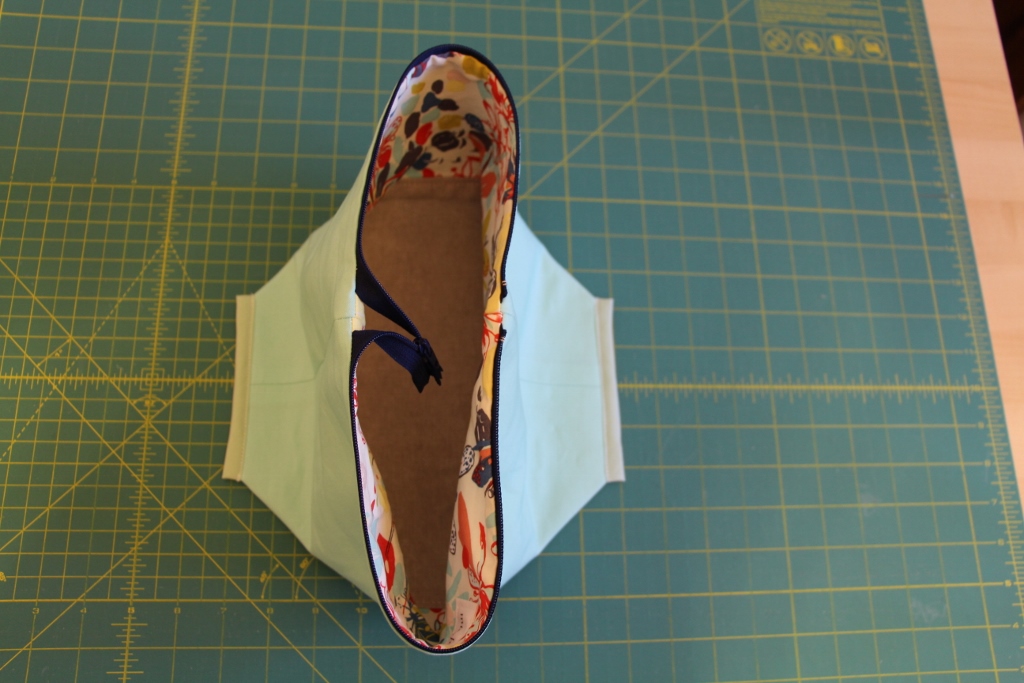
And here you have it… your new pouch.

Enjoy!!

(If you made it this far, give yourself a big high five. I know it’s wordy, but hopefully worth it.)
These are one of my favorites to make! That is so nice of you to take the time to make a tutorial.
Thanks Jade. I'm going to have to try these as soon as I'm able. And you weren't too wordy.
It would be helpful to have the dimensions of the liner written out (20x 14) so that someone doesn't need to do the math each time.
It also isn't clear if you should press the interfacing the both the bag outside and the liner.
Thank you for pointing this out. I'll make the necessary edits. I hope you enjoyed the rest of the tutorial.
Thank you Arita!
You're welcome! I hope you enjoy it!
I am actually going through the rest of it now and I have some other comments/feedback. Could I email you?
Sure. jade@mischiefmade.ca
Do you always box cut the same amount regardless of size? Thanks love the tutorial!
Before I'd made the Noodlehead version I read this and got a bit lost in the detail, but having made a couple I completely get it now. I think your method with the bias tape finish inside would really help anchor the lining. I'm going to try this next time. Thanks for the effort to make the tutorial.
Thanks for this great tutorial, was having a few difficulties with Anna's pattern and this has really helped. Can I just stitch my boxed corners closed of outer fabric and lining separately without the bias tape? Also, do you have fabric measurements for the smaller size bag? Thanks again, really appreciate it!
You can definitely leave off the bias tape and stitch instead. You’ll end up with a raw edge you could zig zag to finish. For the smaller pouch measurements, just follow the link to Anna’s original tutorial and they are listed there. Thanks!
You’re so welcome!! (How’s that for a delayed response? 😂😂 Sorry!)
I’m so sorry for not seeing this earlier. I believe that I box cut the smaller size at 1.5” x 2” if using a .5” side seam.
There wouldn't be any problem making a strip from the lining fabric would there or does it need to be biased tape for stretch or something.
Thanks for the tutorial, I love your podcast too.
I love this Noodlehead pattern. I have been making it with cork but wanted to try a fabric version as well as a different zipper method. I am going to try your method. I like the way you have modified it. BUT, I purchased way too much zipper by the yard (and it is the #5 – the wider zipper with the thick coil) and have not found a good method to install such a zipper in this Noodlehead pattern. Do you have any suggestions? Obviously, I can’t do it as you have in this tutorial due to the very large coil. I have tried adding tabs and I can pull that off, but with extreme stress and unhappiness and it is still too bulky there. I love the look of those zippers, but have not enjoyed installing them. Thanks for this wonderful tutorial! Debbie
I’m sorry. I don’t have much experience with those types of zippers. Maybe ask Anna (Noodlehead)? I know she’s experienced with various zip types. Happy making!!
Jade
Love this bag! Great instructions very helpful!