Welcome to Day 1 of our Finch Bucket Make Along!!
Before we start, let’s get a little housekeeping out of the way.
How do I “join” the make along? This is a very laid back make along. There are no hoops to jump through to participate. Simply make a Finch Bucket during the time of the make along and share it with the group. We can do this on Instagram, as it is so easy to post and share. Please use our hashtag #finchbucketmakealong so we can all see your makes. But remember that private accounts will not be visible on the hashtag #finchbucketmakealong by those who don’t follow you.
The only thing you will need, other than fabric and such, is the pattern, which you can find here. For those who want it, there is also a notions kit that contains the things you may not have on hand, such as webbing, rope and interfacing.
Many of the items mentioned below can also be found on my Amazon storefront.*
NOTES ON FABRIC SELECTION
Which fabric you select may depend on which size of bucket you are making. An original size Finch is awesome for using up those special large print fabrics we have in our stashes. You can do the same with the Little Finch Bucket but it has more impact with the original size.
This bucket was designed to use multiple types of fabric. You could use canvas on the outside and skip interfacing completely. You could use a linen canvas blend (one of my favorites) which would make interfacing optional depending on how soft or firm you would like your bucket.
When choosing directional fabrics, keep in mind that the long measurement of the accent will be the top and bottom of the piece. The short measurement will end up on the sides of the bucket. So, if you have a fabric that has people or text or that has a definite up and down presentation, you will want to make sure that the end result will have the fabric the way you want it.
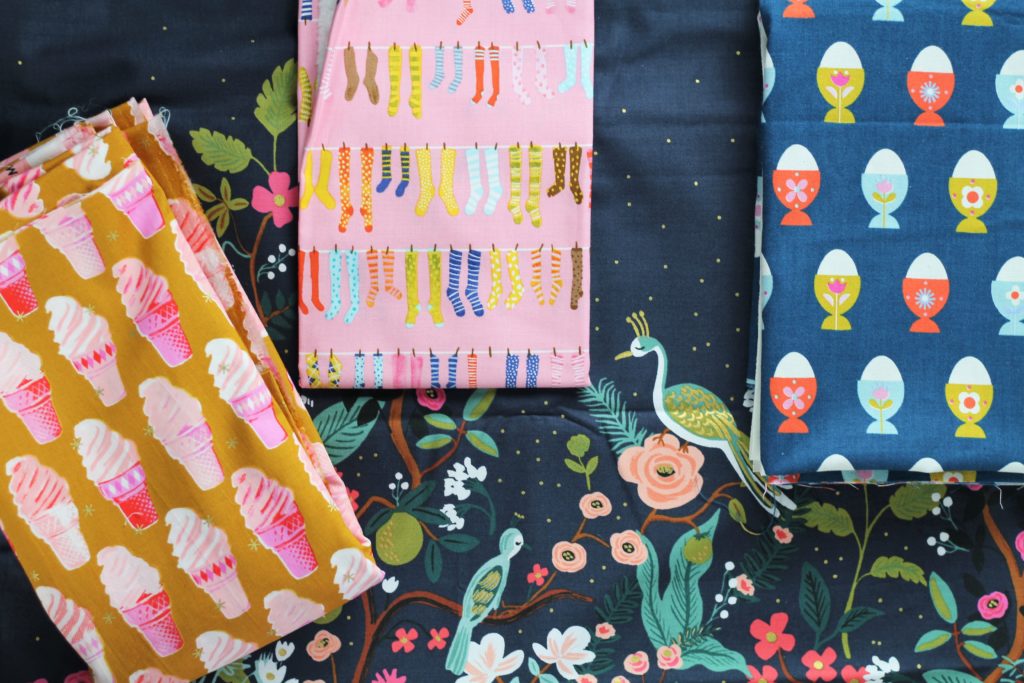
It’s not listed as a must in the pattern but I tend to interface the entire bucket when making them for sale (e.g. for the upcoming Knit City in Vancouver). This is purely a personal choice as I like my buckets to have a little oomph. If you choose to do the same, you would need to cut out 4 lining measurements of interfacing instead of just interfacing the upper accent panel. I will do this as I typically use lighter weight cotton fabrics when I can’t get my hands on linen/canvas blends. The interfacing gives the fabric a bit of weight and structure. I also fully interface the lining. If you are using a predominantly heavy choice of fabric throughout the bucket, you can skip interfacing altogether.
INTERFACING
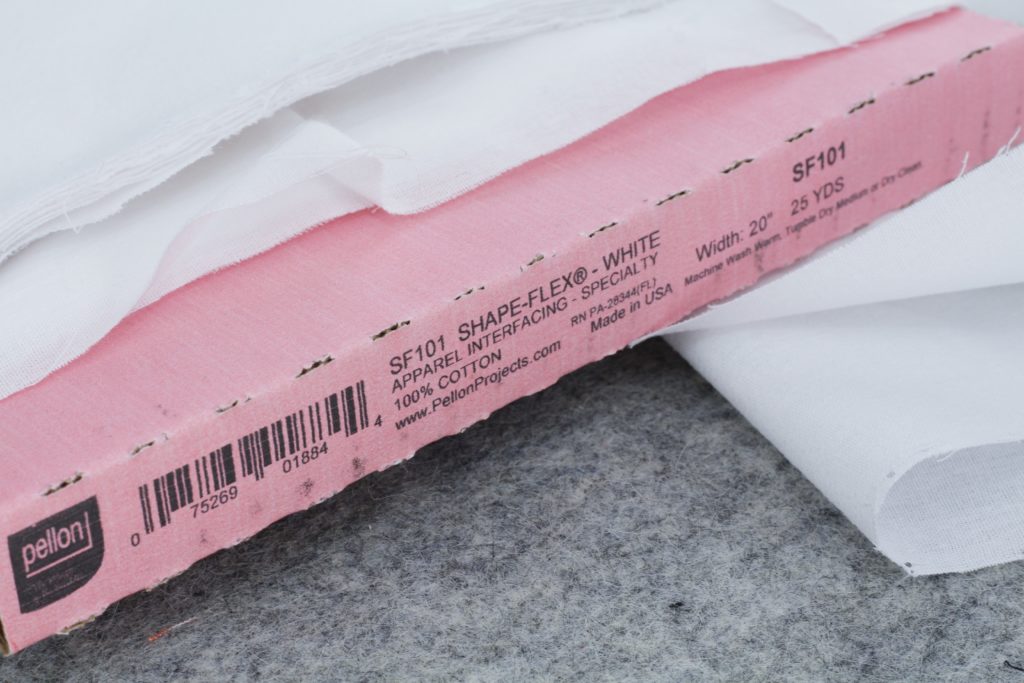
My number one go to interfacing is ShapeFlex 101 by Pellon Projects. It is soft and flexible and tends to behave well. I will not use anything else. It is a woven interfacing with one fusible side that you apply to the wrong side of your fabric with an iron.
If you notice that your interfacing isn’t adhering as well as it should be, the problem could be your iron. Last year, I started having issues adhering my interfacing to my fabrics which was incredibly frustrating and I didn’t know the source of the problem. I thought it was the fabric or the interfacing. This threw me off my bag making game as I love a well made bag and tend to be really picky about the final product. It wasn’t until these past few weeks that I discovered it wasn’t me or the fabric or the interfacing that was the problem, but my iron was the culprit. Apparently, it was on its last legs. I bought a new Rowenta iron and suddenly all was right in the world of bucket making once again.
The tools we use, including irons, can make a huge difference in the enjoyment of the creative process.
MY FAVORITE TOOLS
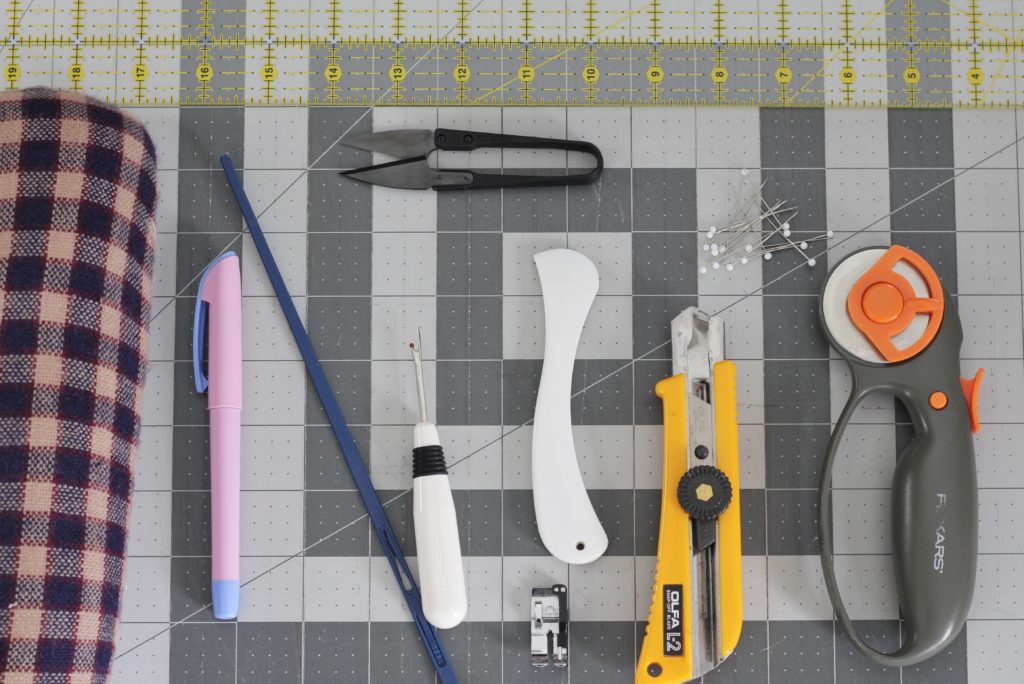
There are a few things that will be useful when making a Finch Bucket (or a dozen of them). I’ll assume you have access to a sewing machine during this process.
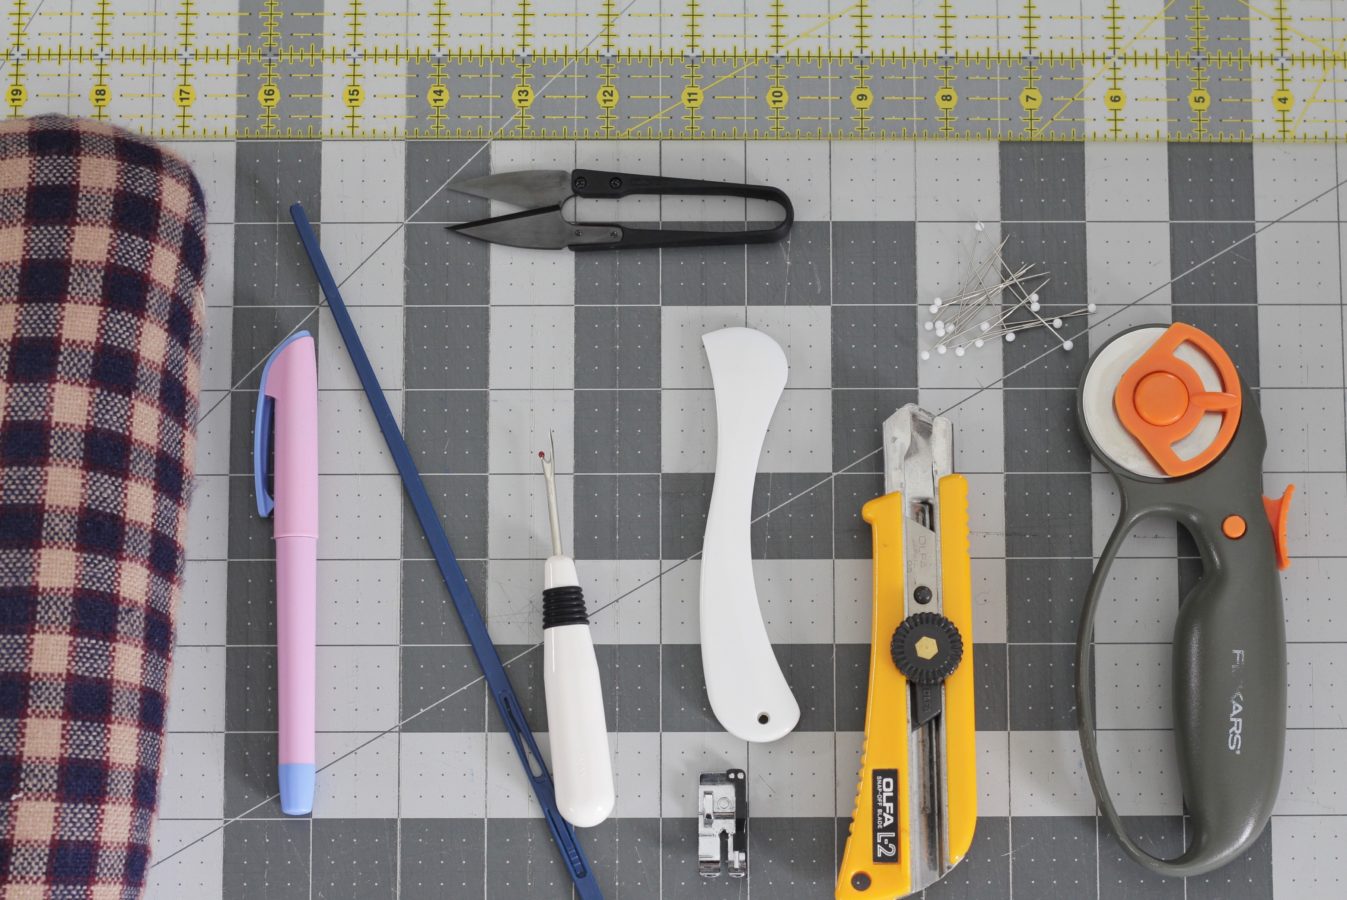
ROTARY CUTTER/RULER/MAT
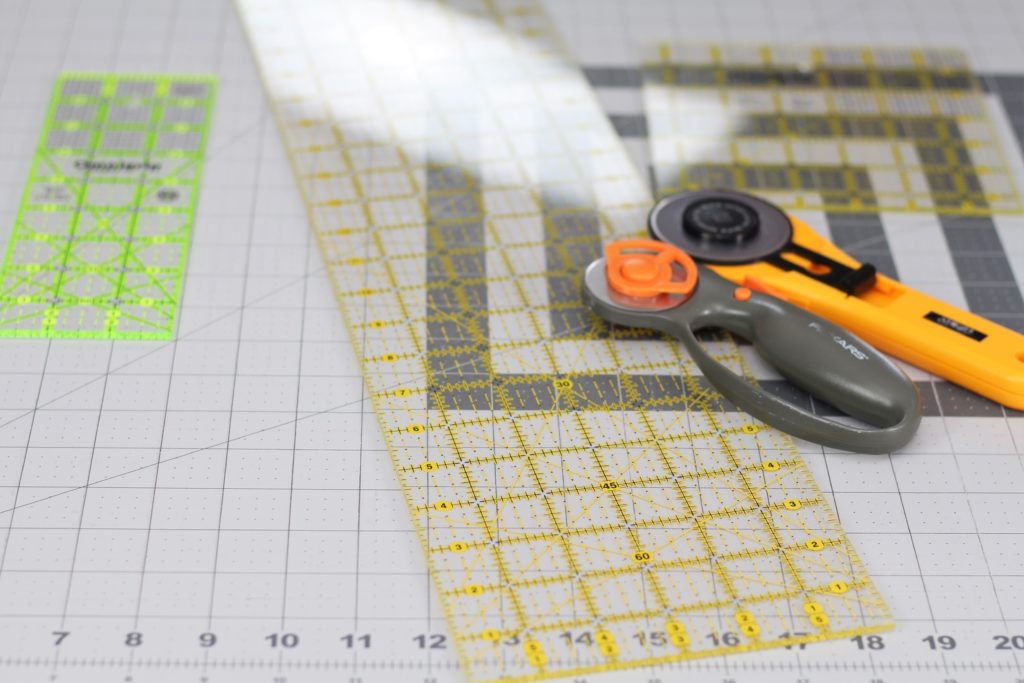
When cutting out your fabrics, I highly recommend using a rotary cutter, ruler and mat. This will make the entire process more accurate and in turn, more enjoyable. If you find you need to repeatedly use your rotary cutter on the same line to make it work, your blade is dull and needs replacing.
(PLEASE – be careful when using a rotary cutter. The blades, especially new ones, are incredibly sharp and dangerous. That said, they are invaluable to this process.)
I recommend one ruler that is 24″ long if you intend to do this more than once. It helps you to make long continuous cuts of fabric when the fabric is folded in half. You can still see the measurements on the top and bottom of the mat.
BOX CUTTER
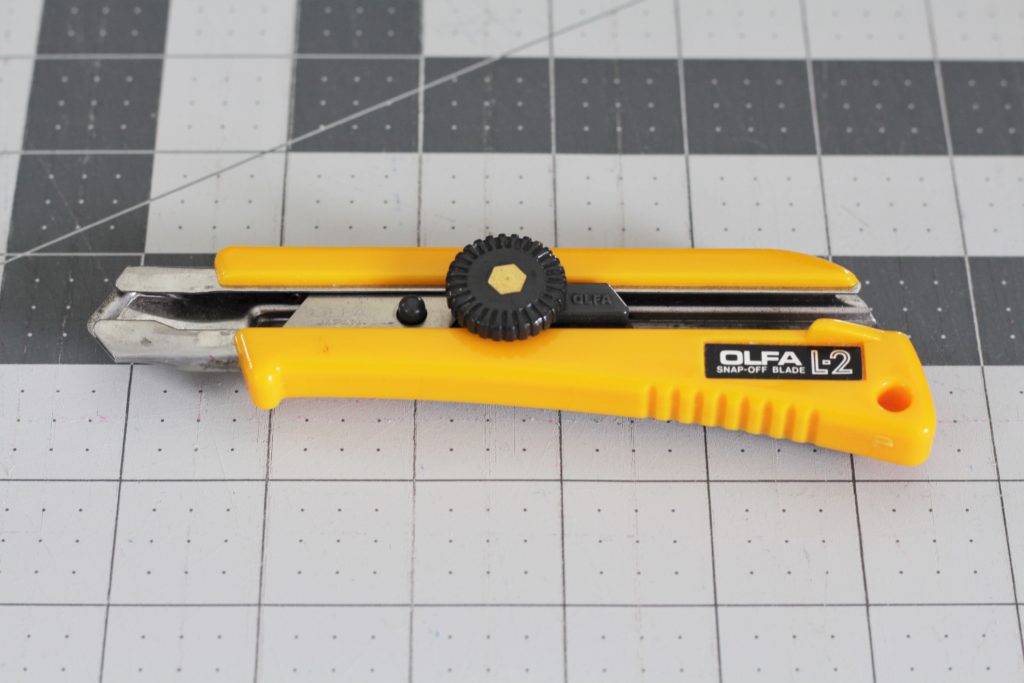
The pattern will call for cutting out squares to allow for boxing the corners of your pouch. I’ll explain more about this process in the next post. But, for myself, I prefer to use a box cutter which is the slang way of saying an Olfa ratchet lock snap knife. I ended up getting mine from the family’s tool kit and it’s never gone back. I find the accuracy to be excellent compared to using a rotary cutter or a pair of scissors.
By way of warning (and at the risk of stating the very obvious) – these knives are SHARP. They should never be left open or untended, especially if you have young children about. When using one, stay focused on the task at hand and then put it away carefully. My hands are littered with the scars of being a maker, despite being very experienced in what I do. Just saying.
HERA MARKER
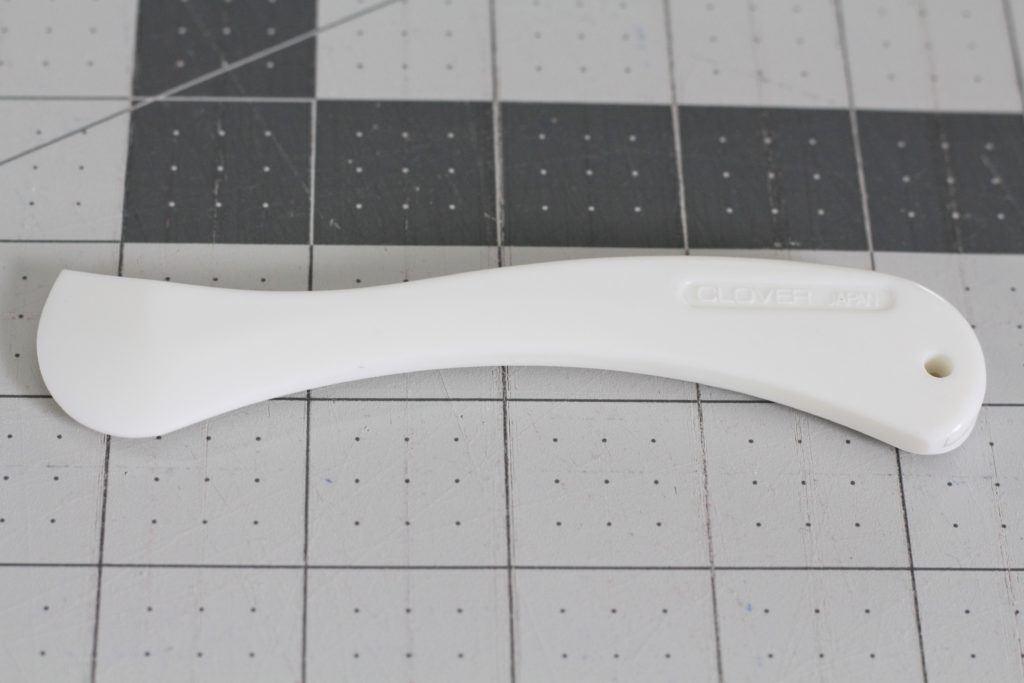
When marking your pocket stitch lines, a Hera marker is very useful. It looks like a little blade, but it doesn’t actually cut the fabric. When used with a ruler, it can leave a fine indentation or pressing mark that serves as a guide for stitching. The advantage of this over a fabric pencil or marker is that it doesn’t leave a residue or mark that needs to be removed after stitching.
STITCH RIPPER
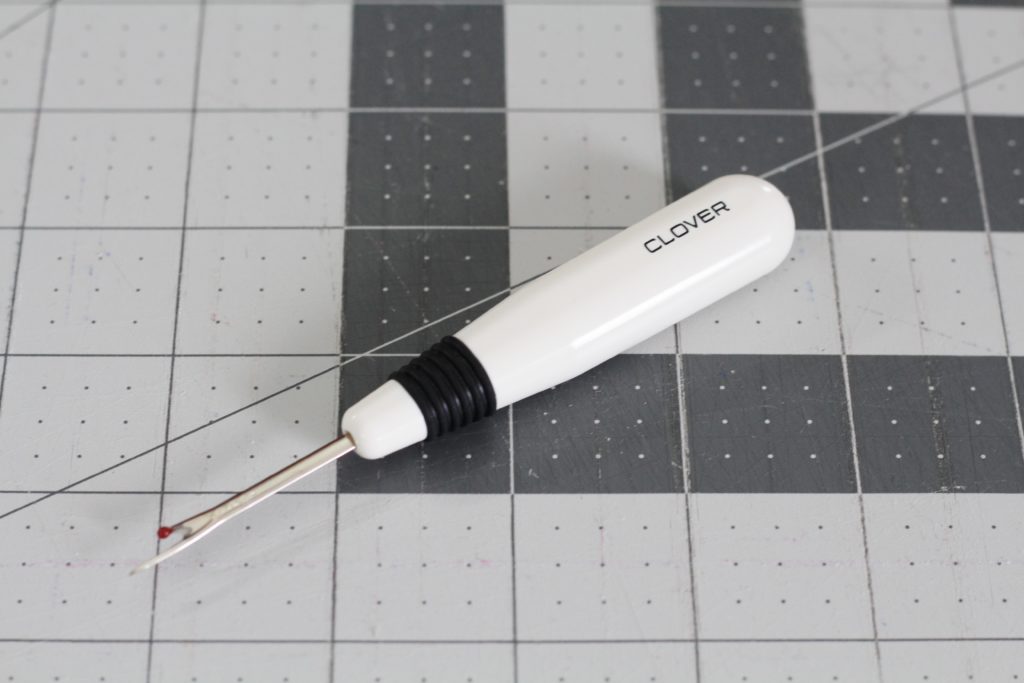
This one is somewhat self-explanatory. No matter how experienced you are, you will need a stitch ripper. We all make mistakes. These help remove the stitches and fix our errors. You may think you will only need one of these in your making career. I recently learned that these dull over time. So if it feels like you are really working to rip just a single stitch, consider getting a new stitch ripper. I am not sure if there is a way to sharpen stitch rippers given the awkward shape of the tip. But, a sharp one is a useful tool to have.
BODKIN
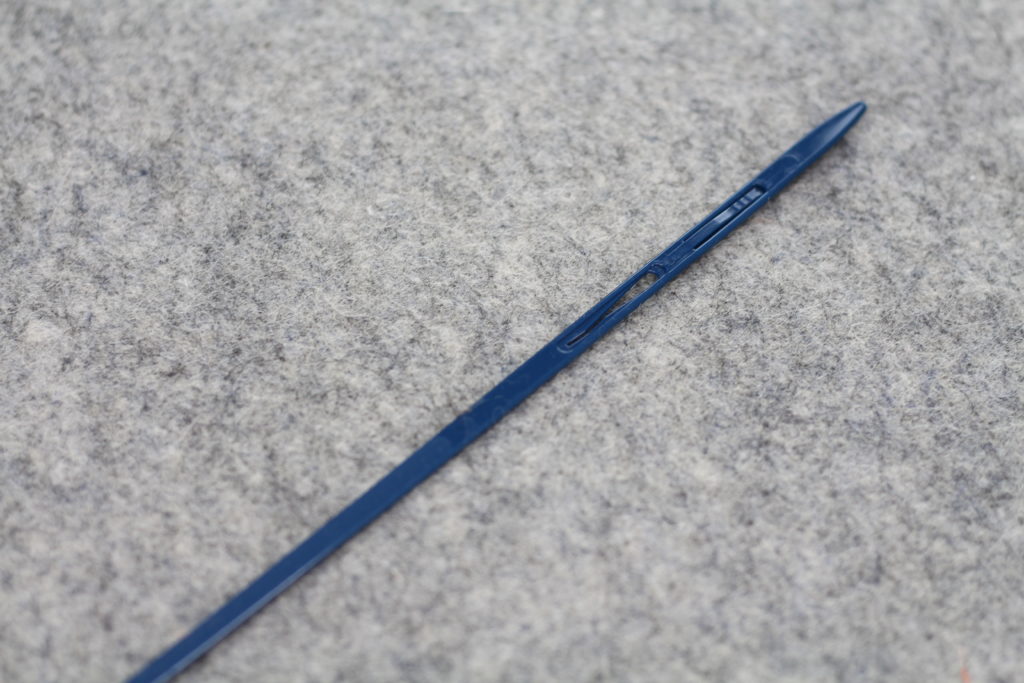
I didn’t realize this tool had an actual name and have been calling it the rope/drawstring threader thingy. Bodkin sounds much more elegant. The one I use (I can’t find an exact match online as I bought it years ago) is a flexible plastic version from Clover. It is long and has a little section to hook my rope or ties to it to thread through the casing channel in one of the final steps in the Finch Bucket process. Alternatively, you could use a safety pin and work it through manually. This would work in a pinch, but the Bodkin is much, much faster to use and less frustrating.
SNIPS
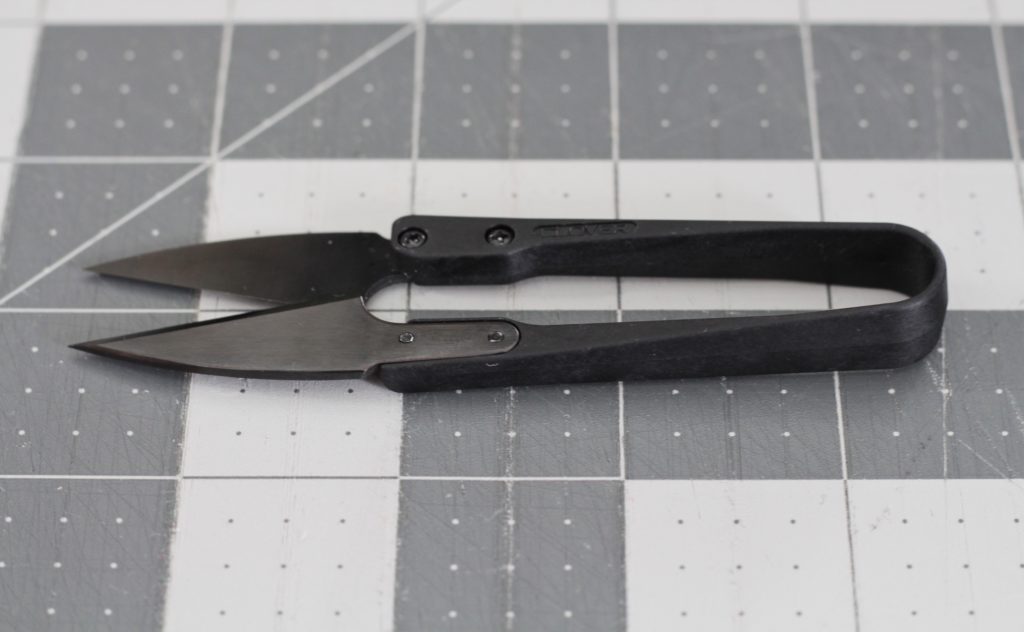
I’ve recently stumbled across this style of snips. I’ve used all sorts of little snips along my making journey. Some were sharp to start with, then dulled. For some, I dropped them on a hard surface like a tile floor and the tips bent. Some began squeaking.
These are Kuroha Japanese thread snips from Clover. So far they have been excellent – sharp, and slender enough to trim threads very close to the fabric.
PINS
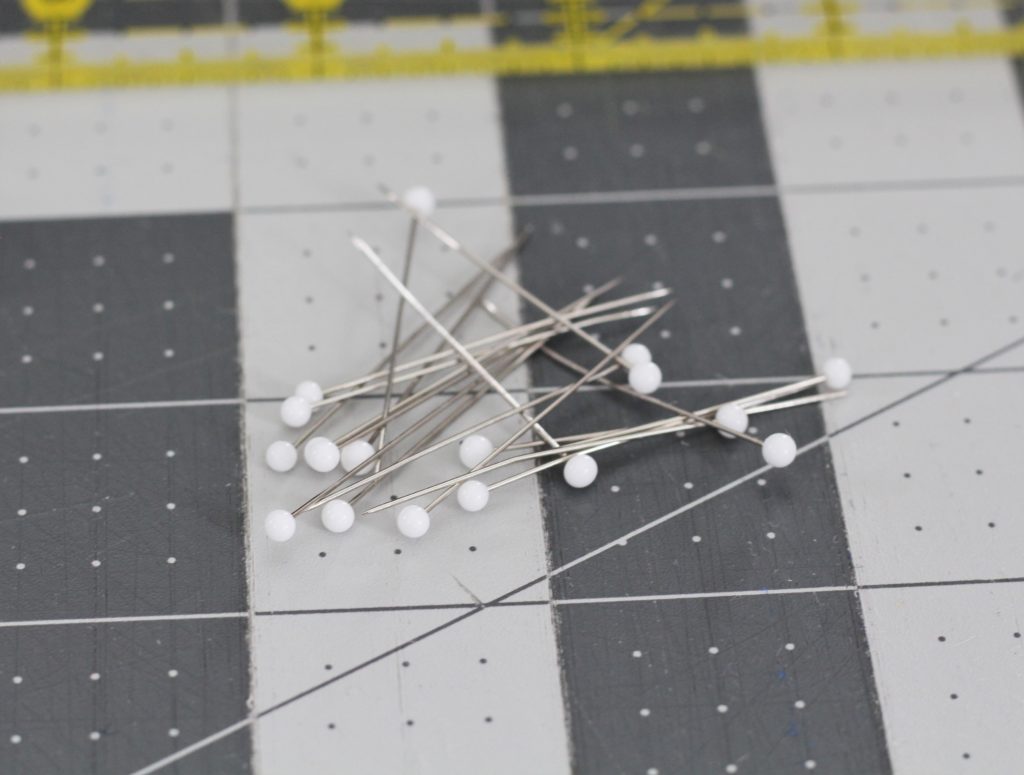
These are also kind of self-explanatory, but I use pins to hold my layers together while sewing. I am a little bit naughty and tend to sew over them and remove after the fact, but I believe the general recommendation is to remove them as you come to them while sewing. What can I say? I’m a rebel.
MARKING PEN
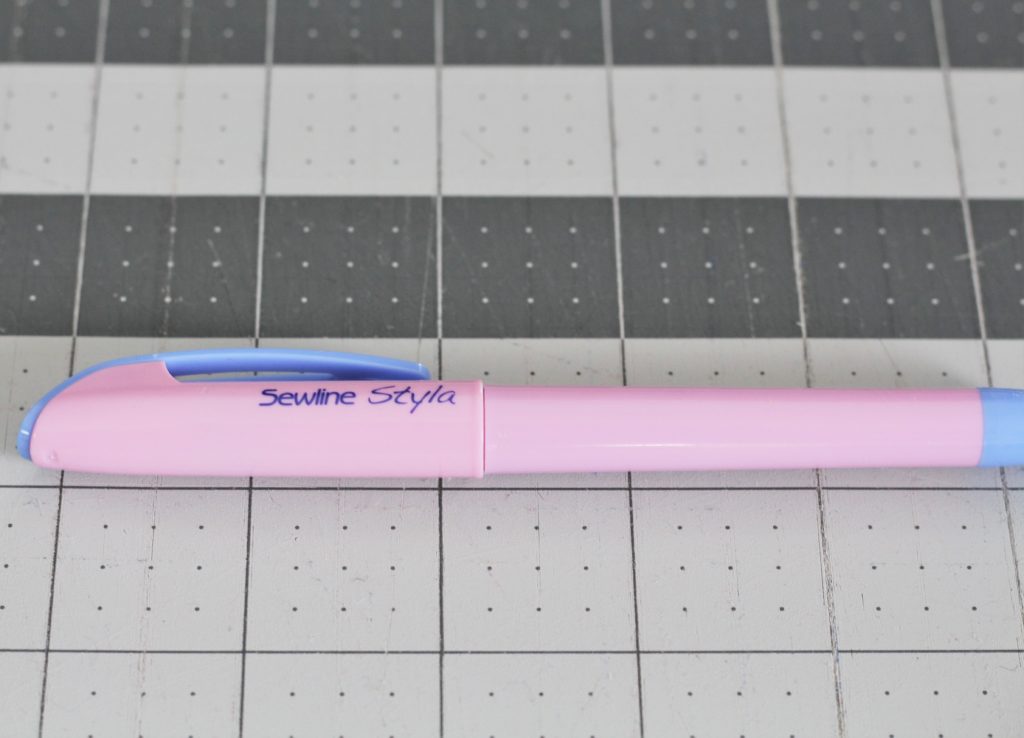
There are many types of these on the market. I use whatever I have at hand. The shown pen‘s ink disappears with water. Other types of ink disappear with time and air. I also have a marking pencil from Fons & Porter which works well and has an eraser. That said I never worry about the marks as they are usually buried in a seam.
A marker is useful in cutting out boxed corners on the Finch Bucket. It is also useful if you choose to include half square triangles in your bucket.
(Teaser – a fun tutorial is coming that uses HSTs in a Finch Bucket – stay tuned.)
PRESSING HAM
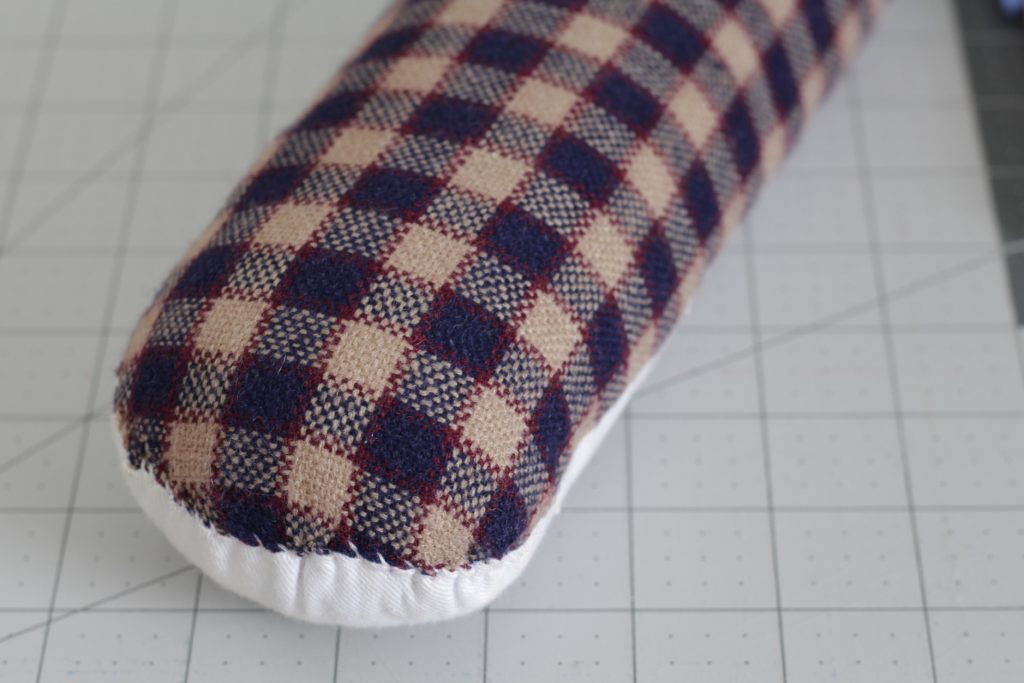
I have two pressing hams – the one pictured which is long and slender and useful for sleeves and spaces. I have another ancient (more squat and square) and somewhat sad looking one that I “borrowed” from my mom years ago. The second has split open but it still fits my hand perfectly. I use these tools, also sometimes called a Tailor’s Ham or Dressmaking Ham, to hold and press out the finished Finch Bucket. I can line up the flat end of the ham to the bottom inside of the bag. I tend to flip the bag around the ham and press as I go. I hold my iron against the bag in the air as opposed to on the ironing board. It gives me more control of my iron for the final finishing press.
TOOLS FOR MORE SPECIALIZED USES
These are a few tools that I find exceptionally useful when making a patchwork Finch Bucket, or any other sort of quilted version of the bucket.
QUARTER INCH FOOT
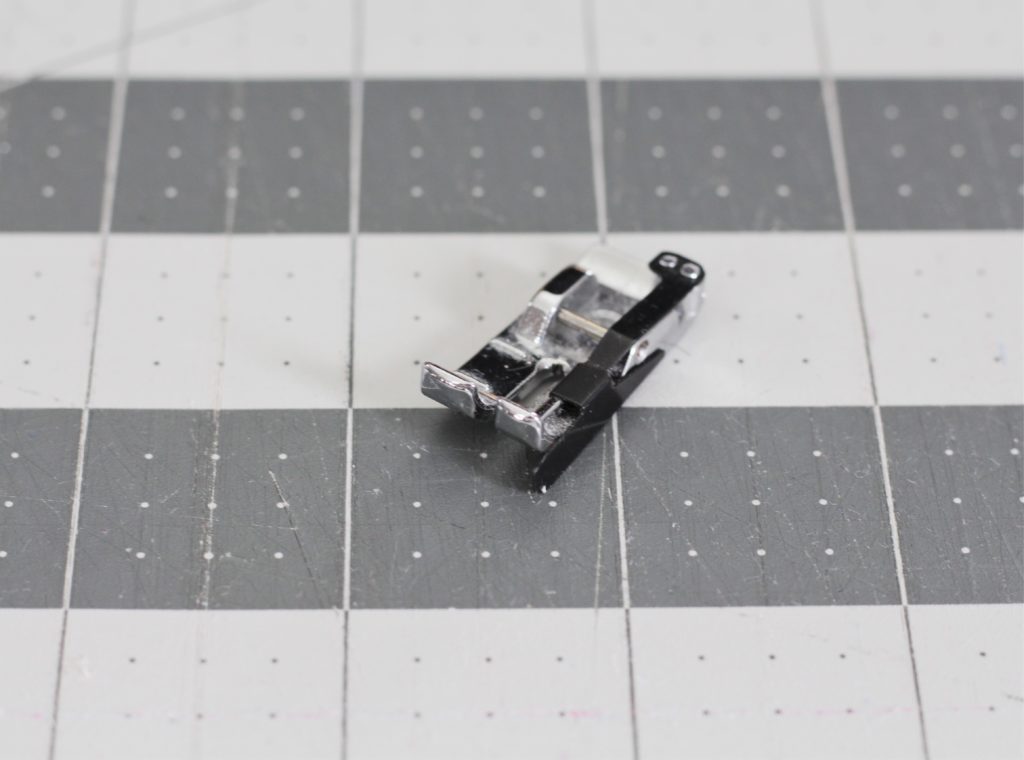
If you are making a patchwork Finch Bucket, I recommend using a quarter inch foot.
For years, I used a walking foot for this, thinking I was getting a quarter inch seam allowance. This is the measurement from the stitch line to the edge of the fabric. It turns out I was really getting a larger seam allowance and it was making my quilting life unnecessarily difficult.
Of course, all machines and feet vary and you’ll need to test the accuracy of your foot/machine combination. Take the foot you normally use and stitch a seam on two scraps of fabric lined up to the quarter inch mark on your machine guide plate. Measure the distance between the stitch line and the edge of the fabric.
If it’s more than a quarter inch, you will need to make adjustments. A minuscule fraction of an inch may seem too small to make a difference by itself, but remember that inside every seam, you would be eating up just that little bit of extra fabric from both edges of the fabric. Once you multiply that by the number of seams you need, you will have lost a significant chunk of fabric, causing your final piece to measure less than it should be. It’s better to just make sure you’re getting the right seam allowance from the get go.
I recommend using a quarter inch foot. This is a little foot that has a tiny little guide that prevents you from going past 1/4 inch seam allowance and can be super helpful.
If that is not possible or you don’t have access to one, try lining up your fabric to just inside the quarter inch line on the guide plate. This is called a scant quarter inch and may help you with accuracy in piecing the patchwork.
MARKING PEN
As mentioned above, a marker is useful in cutting out boxed corners on the Finch Bucket. It is also useful if you choose to include half square triangles in your bucket.
BLOC LOC RULER
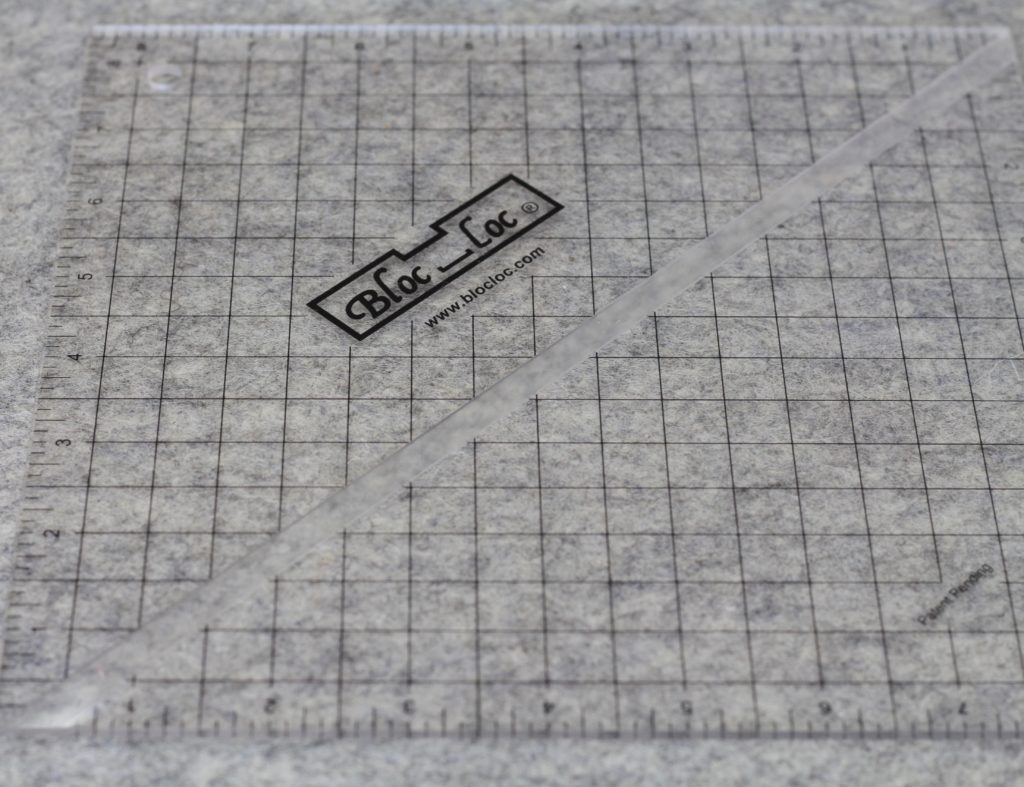
If you are choosing an adventurous modification to your bucket, such as adding half square triangles, a Bloc Loc Ruler can be very handy in squaring up the unfinished squares. That said, you can definitely get away with a square ruler that has a 45 degree angle line on it as well. I’ll be demonstrating how to use both a Bloc Loc Ruler and a regular quilting ruler later.
THREAD
I’m a big fan of cotton thread. Typically, I use a 50 weight thread for making my Finch Buckets, with the exception of top-stitching, in which I use a 40 weight thread.
The 50 weight thread is finer and tends to bury well in seams without too much bulk. My favorite thread for patchwork is Aurifil thread, but that’s simply because my machine loves it and it creates a slim stitch. Currently, I am using a simple Mettler 50 weight cotton thread for my Finch Bucket production, and it’s working fine. In my opinion, it’s a little bit thicker than Aurifil (despite being classified the same weight), but not enough to make a significant difference. It’s also durable.
The top-stitching thread I use is Signature 40 weight thread. I’m a HUGE fan of signature thread and of using a heavier weight thread for top stitching. It gives that little finishing touch to a project that makes it feel professional and put together. Top-stitching is also useful for keeping layers from shifting in the final product and for keeping seam allowances where you want them to be.
There will be more to come on this process in the next post as well.
READY, SET, GO!!
Are you as excited as I am???? I cannot WAIT to see your makes. I know they will be awesome.
We can do this!!
(Atticus thought i was photographing him so I had to snap a shot)
*AFFILIATE DISCLOSURE: As an Amazon Associate I earn from qualifying purchases.
Hi! I’m cutting out fabric right now for the make-along! You say that if you are interfacing the whole bag, you cut out 4x lining size interfacing. Does this mean that you interface the exterior panels AFTER you have sewn together your accent panel and exterior base? Ex: Sew accent & exterior base together, press seam allowance, attach interfacing to back of joined unit, then continue with the rest of the pattern steps.
I’m new to interfacing, so any clarification is appreciated, thanks!
Hi! Jade here. That is a good question. The answer is yes, if I am interfacing the entire main part of the bag, I assemble the exterior panels first, press the seam allowance, interface and then top stitch the seam. Then, I do the linings.
I hope that helps!
That’s perfect, Thank you!