When Aneela Hoey released her latest pattern, the Booklet Pouch, I knew I would be making one. I have a crush on pouches. Shocker, I know. 🙂

As usual, with this type of pouch, I find the assembling of materials and prepping to be the longest step. I chose to use some carefully hoarded fabric from the Paperie line by Amy Sinbaldi. Once I had everything together, the actual making of the pouch took much less time than I anticipated.


Here area a few tips I’ve compiled for when you make your Booklet Pouch.
1) Read all the instructions through. And when you’ve done that and are ready to start making it, do it again. All the way to the end.
2) When attaching binding to the pockets and outer layers, the pattern says to sew just inside the fold line. I recommend stitching at maybe 3/8 of an inch as it will make turning it easier.
3) See step one. If you happen to be shortening a separating zipper, follow the instructions at the end of the pattern. Don’t be cocky and think you’ve got it covered because you’ve sewed dozens (or hundreds) of zippers in the past. Don’t assume that it will magically fix itself either. I’m sure you’re sensing a bit of a lesson learned here.

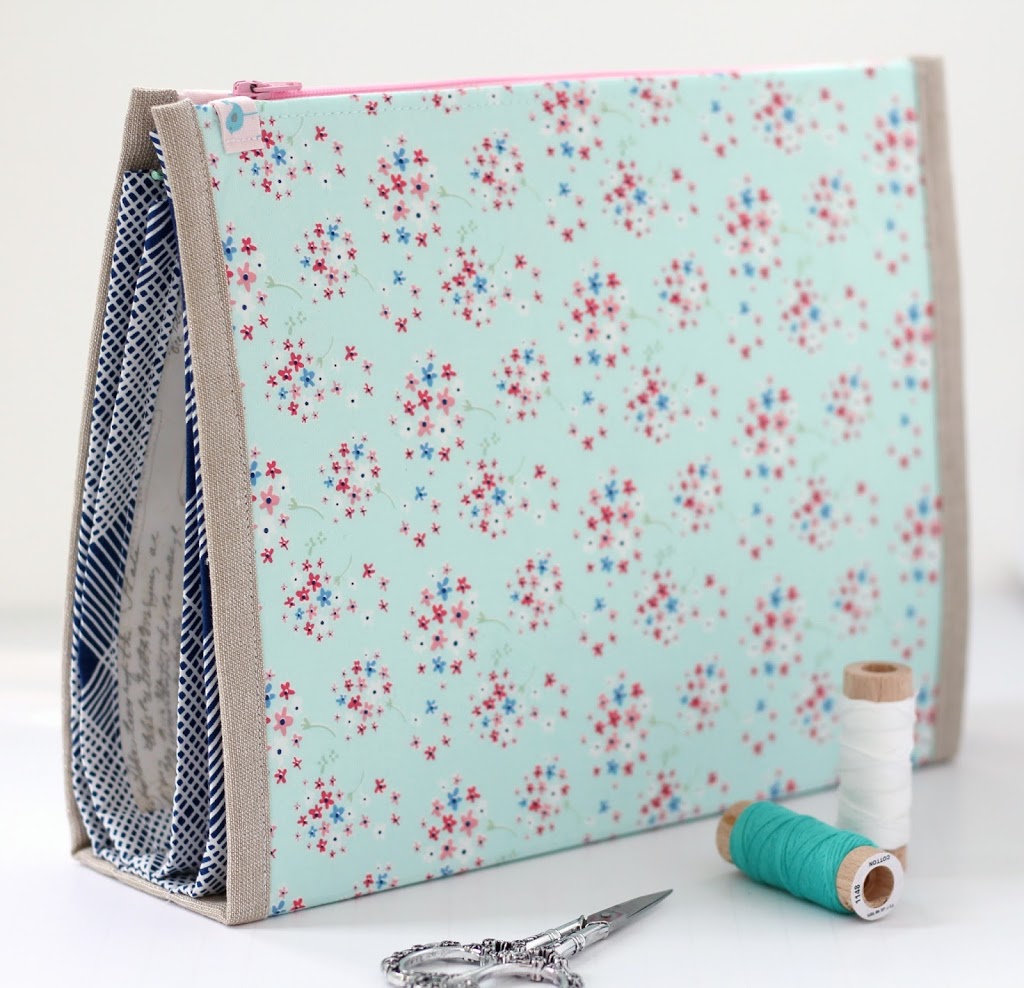
See these adorable little tabs I added after the fact to my pouch? They’re not part of the pattern but are actually a fix for something I should have known better than to do. I was so excited when I finished my pouch so quickly, I patted myself on the back for being so speedy (ha)! With my family as an audience, I zipped up the exterior zipper and then the zip pull just kept on going and went right off the pouch. It’s not supposed to do that.
Quickly looking at the pattern, I realized I missed a vital step. (See step one above. Despite having read the pattern at least twice, I may have glazed over a little excerpt on the last page.)
I put the pull back on and then thought I’d be clever: I attached little tabs that matched the binding to sort of extend it around the corner and over the zipper ends. Proud of myself, I went to attach my zipper and close my book – it turned out I had the pull on the wrong side of the zipper. (For real.)


How gorgeous! I love your version…hmmmmm …. another project for my Bucket List to make!! lol
Susie
Great tips! thank you! I actually woke up thinking about that one zipper lol. I was reading and reading and totally missed the end. Is there a shop online you buy your opened ended zippers from? thank you!
Thank you for the note! I love Zipit on Etsy and have been buying from them for years now.