Last week I broke down and did something that I had been meaning to do for months and months. It was the final step to moving back into my sewing room from my temporary (ahem, since the fall) sewing set up in our formal dining room. I recovered my office mini ironing board cover.
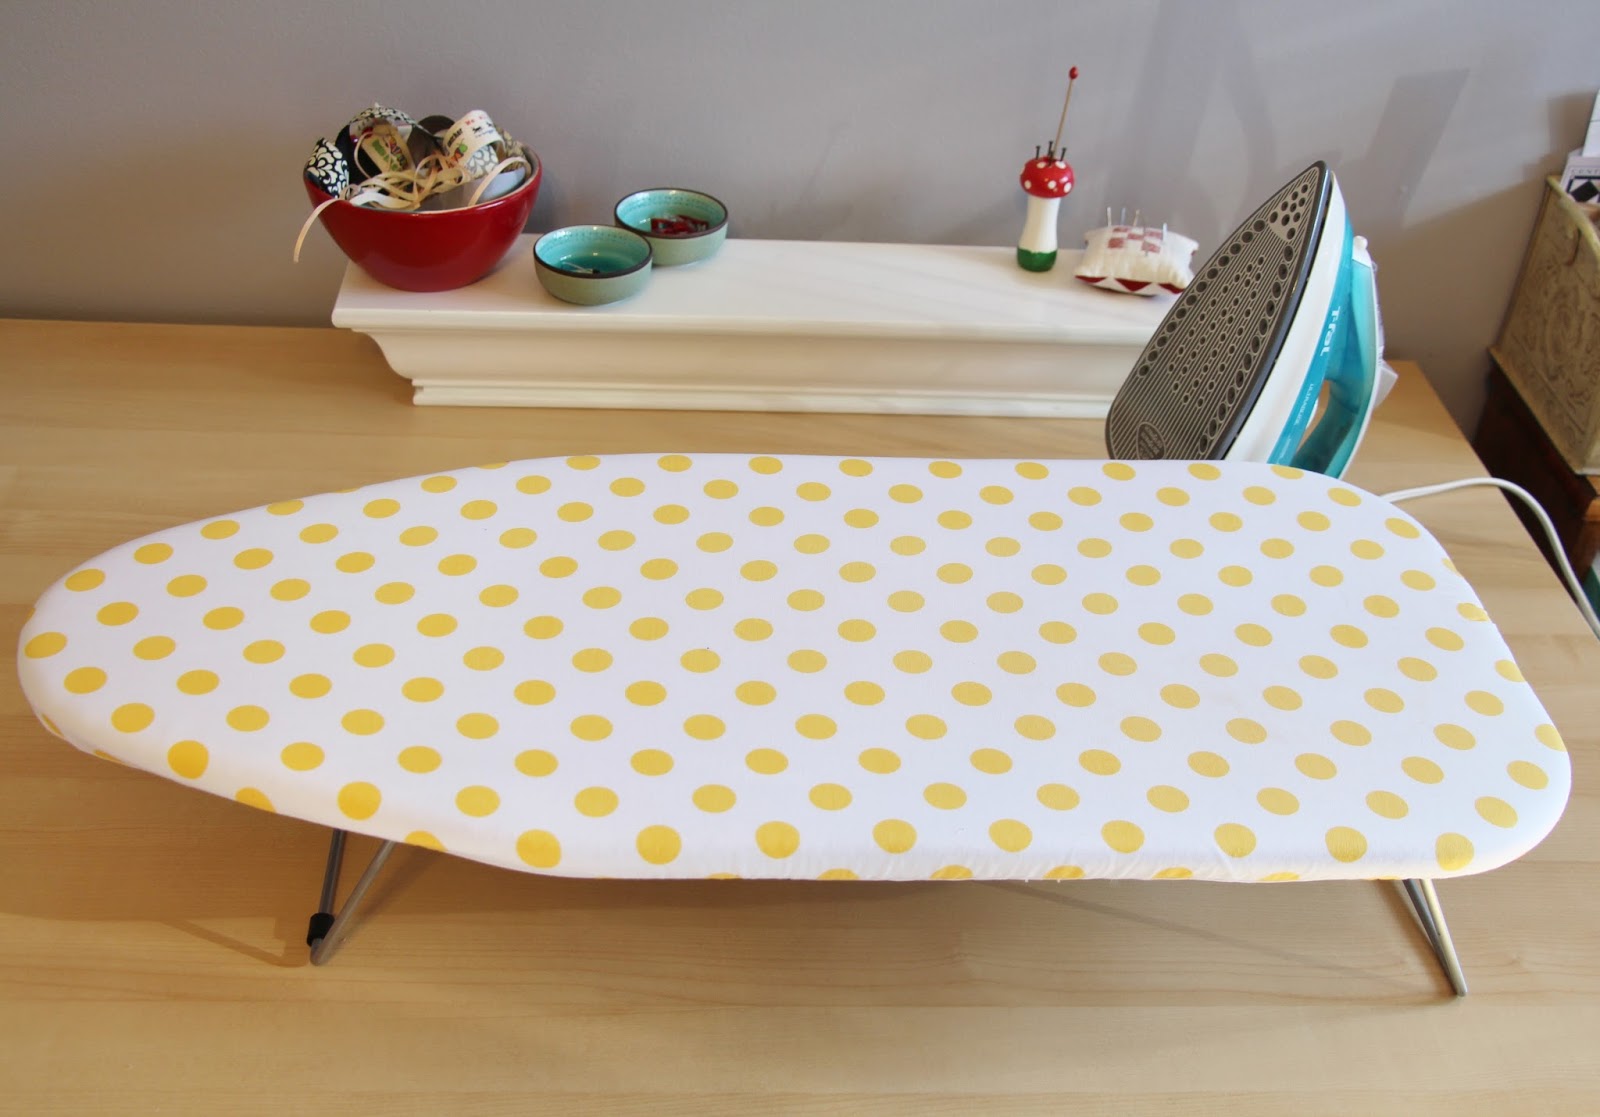 I bought it from Ikea years ago. I love that the tiny legs fold up and and you can hang it up for storage. But, over time it became flat, and ripped and stained beyond recognition. It was so flat, it would leave grid marks on my fabric.
While going through my fabric bins, I realized I had backing from my newest quilt finish that was just the perfect size for my ironing board. In retrospect, the recovering was so fast, I’m not sure why it took me so long to get to it…
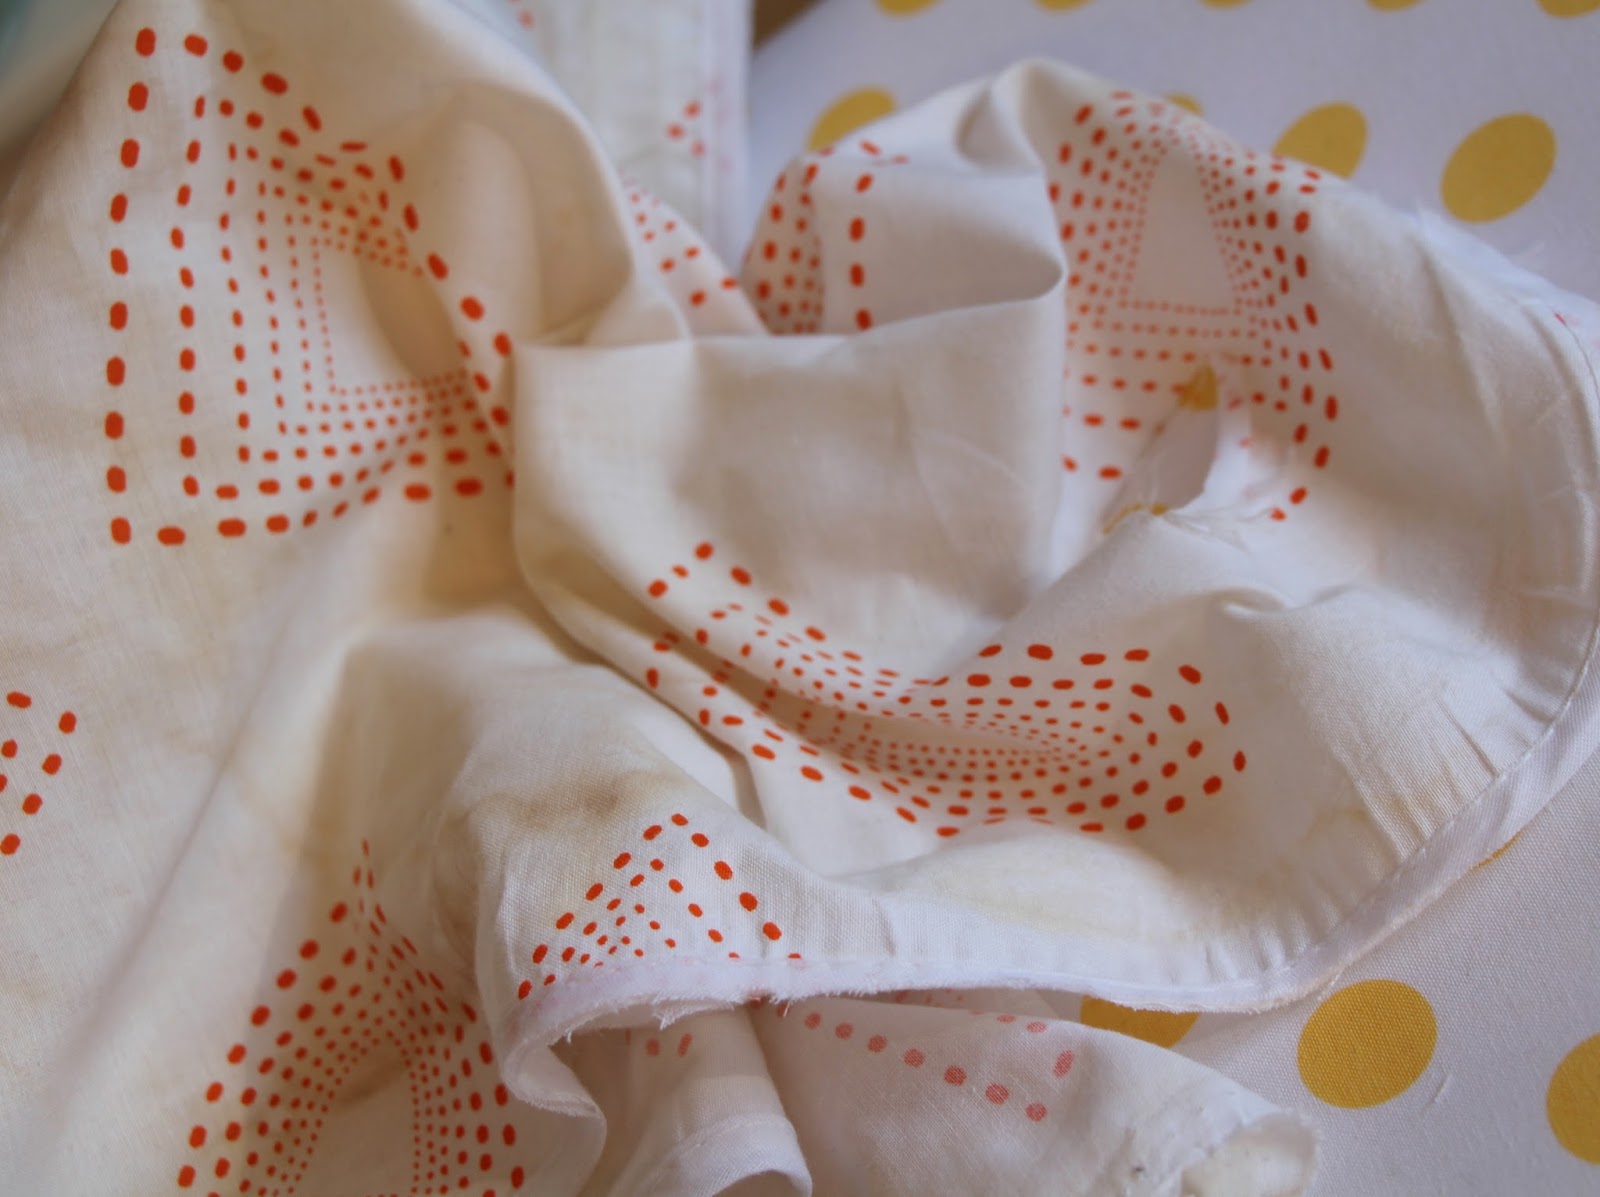
I took the old cover off and pulled out the strings that gave it that ‘curved around the board’ effect. I was going to re-use them, but apparently melted them while trying to iron the cover flat. Once I had ironed out (ha!) the cover into a flat surface, it was my pattern piece. I cut out my new cover using this, as well as one layer of fusible fleece, one layer of batting and one layer of old white fabric that I would never actually quilt with.
I fused the fleece to the white fabric and tested both this layer and the batting on for size. They needed a bit of trimming but would work fine.
To prepare the cover, I used cream extra wide double fold bias tape and just eased it around the fabric, sewing it down on the inner edge of the tape. I was worried about sewing the tape on the curves and started to pin, but in the end, I found it easier to just slowly feed the tape around the fabric as I was sewing. When I got back to where I started, I clipped the tape, I folded in the end of the tape and stitched it down. This left a sort of tube effect for feeding the string.
For “string”, since I had absolutely nothing appropriate, and had melted the one provided, I used 1/4″ elastic, which turned out perfect. Once fed through, I layered my board. Against the metal was the initial padding from the store (I’m all for re-using), the layer of quilt batting (also a scrap), then the fusible fleece/fabric combo, fabric side up, then , then the cover. Once in place, I had one of my kids hold one end of the elastic while I pulled the other end (really, really tight) and tied a bow around the hangy bit on the underside. All told, this took maybe 45 minutes.
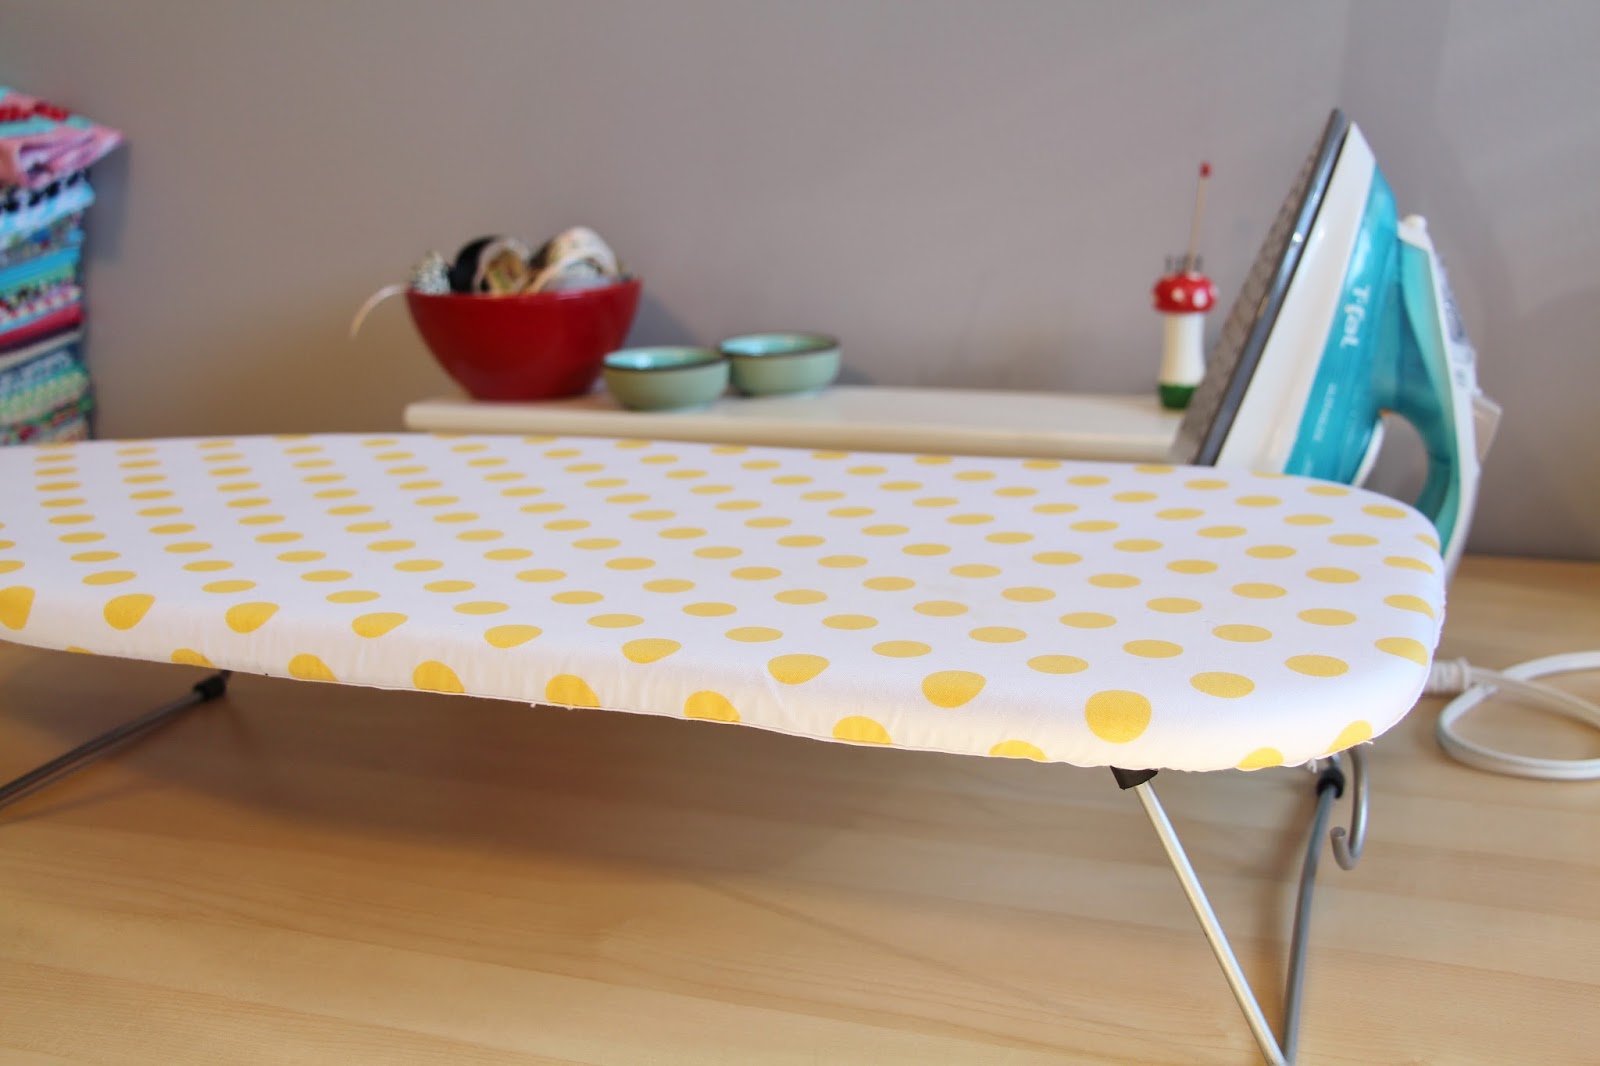
The extra padding makes this board a dream use and the sunny yellow dots add just the perfect amount of fun (and a whole lot of happy) to my new/old sewing space.

That being said, I’ve got some pressing to do…
Happy Friday!
This is my finish to link with finish it up Friday.
Isn't it always the way? We put off things that turn out to be quick and rewarding once they are done! Those sunny bright polka dots will keep this sunny bright day happening in your sewing room for some time to come.
Clever you! I have an ironing board I need to recover too… better get onto it!
It's really beautiful now! What a delight to start working! x Teje
I need to do the same! Thanks for sharing ! Cecilia
Adorable and functional, perfect! Love the polka dots